Sunday, March 23, 2014

Pom-Pom Easter Eggs

Minne-Mama is on Facebook! 'Like' us to stay updated on our fun crafts and activities! 
Thank you for stopping by! 

With Easter exactly four weeks away, I thought it would be time to start gradually adding some handmade decorations and Easter inspired play activities into our home! Our first craft has been planned since Valentine's Day when I bought some foam for a fun Valentine themed bath and accidentally got foam with an adhesive backing. With the pretty light colors, I knew they would make the perfect Easter decoration!


I drew an egg shape on the back of the blue foam free hand and then traced it onto our other three eggs. I cut them out, filled a bowl with some pastel pom-poms and we were ready to create!


Of course, mama had to try it out ahead of time to make sure that it would work! :) The adhesive on the foam is super sticky and it is so much fun to stick the pom-poms on!


Skyler decided on the blue egg first, so I peeled off the backing and he started sticking the pom-poms onto the foam immediately! He noticed the stickiness and was very intrigued!


There were some great facial expressions going on during this craft. You know when he pulls his hands in like that after placing down a pom-pom that he is a happy guy!


The first time Skyler got his hand stuck, it got REALLY stuck. He almost couldn't get his hand off! This adhesive foam is very sticky. At first he thought it was funny, but after awhile and before he finally got it off he was getting a little miffed.


Why won't this come off?!?!

Then he did it for fun. Even one finger could keep the eggs stuck enough to shake around!


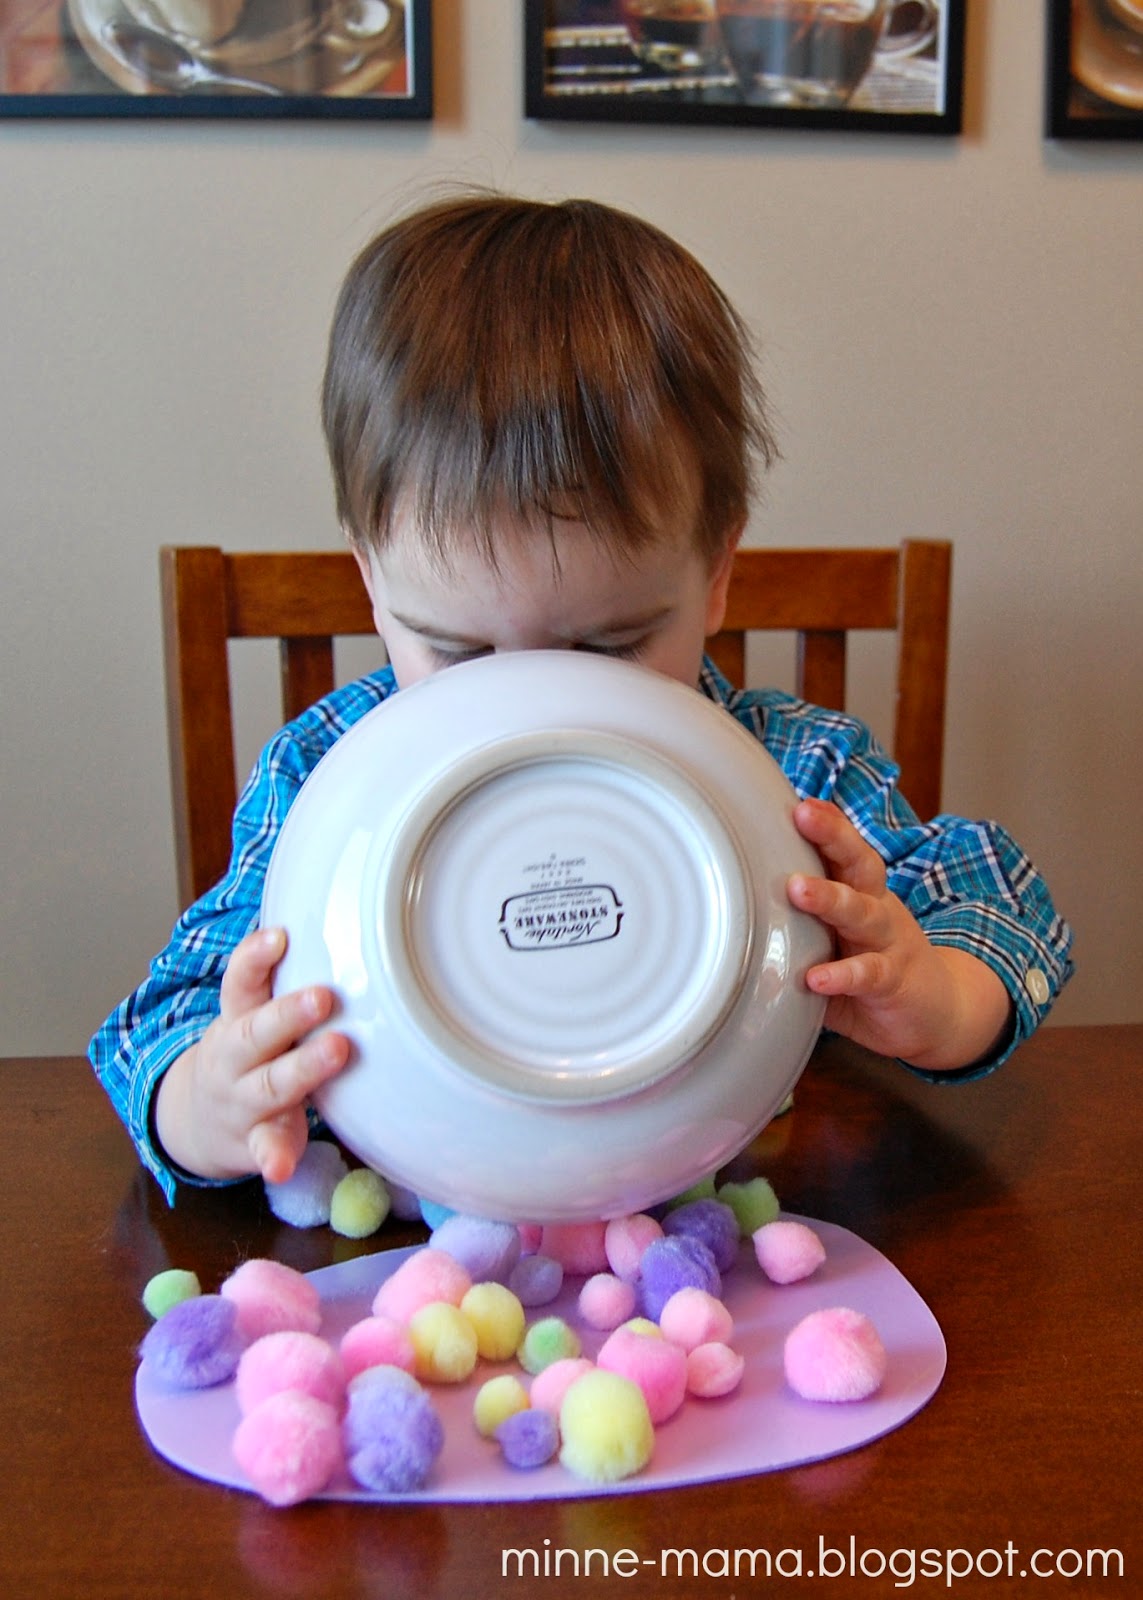
After filling his entire blue egg and working on the purple and green by pressing individual pom-poms down (or dropping them from "up high!") Skyler decided to dump the pom-poms out of the bowl. He had so much fun using this method and dumped it over and over until all the pom-poms were used up!

Once our eggs were done, I displayed them leading up our stairwell. They are so festive and I am looking forward to seeing them up on our wall until Easter!


These simple Easter eggs were a blast to make and I love how cheerful they look on our wall!


Thursday, March 20, 2014

Flower Patch Fine Motor Threading Activity

Minne-Mama is on Facebook! 'Like' us to stay updated on our fun crafts and activities! 
Thank you for stopping by!

Since around Valentine's Day, I have been wanting to try pasta threading with Skyler. I was inspired by this activity from Buggy and Buddy. Since today is the first day of spring (!!!) I wanted to do a flower patch version of the pasta threading activity.

Since the pasta is the stem of our flowers, first I dyed it green. I used three cups of rigatoni pasta, two tablespoons of vinegar to help spread the green food coloring and set the color. I dropped in food coloring until I was happy with the shade of green and then I spread them onto a baking sheet lined with paper towels (I usually use wax paper, but was out).


When the pasta was dry, I assembled all of the materials needed for the activity including the colored pasta and some straws, our St. Paddy's Day Play Dough (minus the accessories), and I cut the individual pieces off of a bunch of artificial flowers.


I rolled the play dough out on Skyler's table and we put the straws in together. I showed Skyler how to thread the pasta onto the straws and his eyes got wide, he smiled really big, and then he was busy filling the stems with colored pasta!


Skyler really enjoyed this threading activity. He walked around the table, filling the length of straws with pasta, taking them apart, and doing it over again! After he had been playing with just the pasta for awhile, I introduced the flowers. Skyler put a couple of flowers into the straws, and put some straight into the play dough. 


But mostly he wanted to spin and dance to music with the flowers!


We had a lot of fun with this activity and it was great fine motor practice for my little one (especially putting the flowers into the straws). This skill building activity is the perfect way to welcome spring! It looks so pretty all put together, I kind of want to leave it out just because it looks so cheerful.


I am sure we will be building and rebuilding this flower patch until our play dough dries out and we will have to make a new batch! This fine motor activity is simple to put together and is a wonderful activity to fill some time (it makes a great busy bag - all of the pieces fit into one baggie that we can take with us anywhere!)


Wednesday, March 19, 2014

Musical Percussion Tubes

Minne-Mama is on Facebook! 'Like' us to stay updated on our fun crafts and activities!
Thank you for stopping by!

It is officially spring tomorrow and I am feeling the need to celebrate - these super simple homemade musical instruments have been perfect for Skyler to cheerfully welcome the warmer seasons and they are a fun reminder of one of our favorite times of the week!

In our Kindermusik class, the little one's have had the opportunity in the past few weeks to try a ton of new instruments. Skyler's favorite was a set of plastic percussion tubes (if you Google that you can find the name they go by). This version used recycled materials we had on hand and they sound just as good as the ones you can buy - and are much more budget friendly!


All you need to create this incredibly entertaining musical instrument is two paper towel rolls and some tape. I used masking tape with bright spring-like colors and geometric shapes. You could use any variety of color or patterned tape to create these beautiful instruments.

To make the tubes, I laid the paper towel roll down and pulled out a piece of tape long enough to cover the length of the roll. Then I stretched the tape tight and placed it down in one piece when it was as straight as possible. I tucked the end pieces into the tube and when I had gone all around the roll I cut a piece big enough for the inside so that it was one continuous piece of tape instead of all the different length ends showing.


I tried doing some horizontal pieces of tape along the tube, but ended up liking the look of just the vertical stripes instead! Doing all horizontal, checkered with vertical and horizontal, or even diagonal stripes with the tape would look great as well, it would just take longer to match up the tape straight.


Making our musical percussion tubes only took me about five minutes, including the tape I ended up taking off. They are quite easy once you figure out how to keep the roll from spinning as you press down the tape. When I was done, I tried them out and they sounded great. I actually hit them pretty hard against the table and they didn't lose their shape at all - quite toddler proof! I was really excited to have Skyler play with these.

Skyler saw them and when I banged them together once, he knew what they were and was so ready to play! I had planned on getting some pictures in the morning, but he was so eager to play his new instruments and was using them very creatively, so I grabbed the camera just minutes before bedtime - poor lighting, pajamas, and everything - so I must apologize for the not-so-beautiful pictures! Between the darkness and movement I had to use a flash.

You know what screams spring? That would be fleece Santa Claus pajamas of course! ;) Skyler insisted on his "Santa jammies!" and you better believe they will be in his nightwear rotation until he outgrows them or it gets too warm for fleece. Anyone else still rocking the Christmas pajamas?


The picture above shows the best way to make noise with the percussion tubes. When you hit them together with the full length it makes a nice loud bang! They can also be clacked together or used to drum on other things (banging on tummies, knees, and toes are popular with my little one! They are so light that it doesn't hurt if used as head drumsticks, which Skyler finds so funny!)


I thought this was too funny. Skyler using a tube as a harmonica - sound effects and all!


Of course, Skyler tried banging his instruments on all the surfaces in his room. We talked about what made loud noises and what made quiet noises.


We were playing with them while listening to a CD from our music class and it is all about vehicles. Skyler is using the two tubes to make a train in this picture! "Choo Choo!"


These musical percussion tubes are simple and fun to make, and are a great way to use the empty paper towel rolls we always seem to have laying around. I am sure we will make a few more sets of these fun instruments to play with!

Tuesday, March 18, 2014

Wine and Canvas

Minne-Mama is on Facebook! 'Like' us to stay updated on our fun crafts and activities! 
Thank you for stopping by!

Between this fun event that I did with two of my friends last week and date night on Friday/Joe's race on Saturday morning I feel that I have taken more "me" time than I have since Skyler was born. It has been fun to get out more and I always feel like a better mom when I take some time to do things I enjoy outside of parenting. It also helps when most of the time spent away is when Skyler is sleeping - I don't miss out on too much :)


Last week on Monday I went with two of my best friends to a wine and canvas event. Have you ever done one of these? You basically pay for the blank canvas, paint, and a teacher to walk you through the steps and in a few hours you have a finished canvas painting, all ready to hang up (or gift to someone). The wine part of wine and canvas costs extra, but our event was held at Hell's Kitchen in Minneapolis, so part of the fun was getting dinner and drinks before the painting began, and then moseying down the hall with our drinks in hand when the event began.

I met these two lovely ladies when I was a kid. Both were in my mom's in-home daycare, and we have been friends ever since! Here is a picture of us from last Monday, and one from about twenty years earlier! Check out my 101 Dalmatians jammies - this picture is so 90's :)


Both of my friends had done Wine and Canvas before, and this was my first time. I loved the painting we did, but it was one of the more complicated paintings they do and it was definitely a challenge - the shading in the background, the bench, the thickness of the streetlights, and don't even get us started on the shadows - oh my :) These paintings were quite the emotional roller coaster (so much stress!!), but we had such a great time. I would have painted anything - I just loved the time spent with these two! I didn't take any of these pictures, they are all from my friends phones or the photos taken by the Wine and Canvas staff. Isn't it crazy how big our whole group was? It was a packed room.


It was a great evening and I know Joe and Skyler had a lot of fun too! The next morning Skyler kept asking me for "bues" because him and daddy spent a lot of time listening to blues music :)


If there is a Wine and Canvas in your area, or another similar painting party company (I've also heard of Margarita and Canvas, or Cookies and Canvas for kids!, I would highly recommend it! I didn't love my painting as I was doing it, but I am happy to have the final product at home (Skyler likes it too!) and it is a great reminder of a fun night with friends!