Showing posts with label Sensory. Show all posts

Wednesday, October 28, 2015

Non-Edible Halloween Treat


Last year around Halloween, Skyler and I made play dough Halloween treats for his ECFE class. I used baby food jars and they were really cute. We were in class with the parents, so I just handed each of them a jar. This year in his preschool class, they put them in a bag and then send the bag home. I didn't want any bags getting dropped with glass jars in them, so I chose a more safe (and much less time consuming) way to package our play dough.


I have been wanting to make this awesome microwave play dough from Fun at Home with Kids since the first time I saw the video on their Facebook page, and I can't believe I waited almost six months to try it! When I heard Skyler's preschool was having a Halloween dress up and treat day (non-edible items allowed only), I jumped at the opportunity to make some fun homemade play dough "treats."


Skyler and I followed the play dough recipe, adding yellow and red food coloring and pumpkin pie spice to make ours into little scented Jack-o-lanterns. Skyler is a great helper when we make play dough. He loves to measure, pour, mix, and especially knead the finished dough. This recipe is so simple and makes a great play dough to explore with! Skyler enjoyed playing with his Halloween cookie cutters while I put our treat bags together.  

All you need to make these non-edible Halloween treat bags are:

Orange microwave play dough (add the pumpkin pie spice for extra fun!)
Snack baggies
Black and green sharpies
(Optional) Stickers for a gift tag


I made the dough into sixteen little balls, stuck one ball in each snack bag, smashed it down into a puck and closed the bag. Then I drew a simple jack-o-lantern face and green stem on the bag. You could just leave it at that, but I had some cute stickers too, so I cut them into strips and wrote on the back as a gift tag.


From start to finish including making the play dough, this only took about half an hour and we doubled the play dough recipe, so we have a lot of dough to play with at home too! We had a lot of fun putting these together, and Skyler can't wait to give a bag to each of his friends at school!


Thursday, October 23, 2014

Spider Web Sensory Play

Thank you for stopping by! 


When I picked up spiderweb material and plastic rings for a care package topping, I knew I wanted to use the leftovers in a sensory bin. I couldn't believe that a sensory bin so easy to throw together would keep Skyler so entertained! This bin is a lot of fun!


All I did to put this sensory bin together was pull out handfuls of the web material and fluffed it up a bit before layering it in the bin. It doesn't look like much, but once you pull on it a little, it takes up a lot of space! I scattered the plastic spider rings on top and we were ready to play!


I was pleasantly surprised with how much the spiders grip to the web material. The little legs and ring hold on to the web so whenever you try to pull a spider out it brings a lot of the webbing with it!


The webbing stretches really far! Skyler loved just pulling little bits of it as high as he could reach.


Of course, the spider rings are fun all on their own as well!


The longer you play, the more tangled the rings become. By the end, Skyler would pull up bits of webbing and there would be spiders hidden all throughout the part he pulled. Such a fun peek-a-boo game!


This simple sensory bin is a lot of fun and very festive with Halloween coming up. Just playing with the webbing and spiders was fun for a toddler. Picking out the spiders and carefully picking off all of the webbing stuck to them was great fine motor practice, and older children could do it as a color sort or counting activity. This activity could be extended to many other learning activities.

Sunday, October 12, 2014

Toddler Decorated Pumpkins

Thank you for stopping by! 

We enjoyed a very full and fun family weekend starting off Saturday morning with this trip to Sever's Corn Maze. While we didn't actually do the corn maze, there were so many amazing activities at this spot - I can't believe it was a first time for all of us! Growing up in our hometown, my husband and I have gone to many local pumpkin patches and apple orchards, but not this nearby gem. We cannot wait to go back next year! Here are some of my favorite pictures from the morning. 


Vintage tractors were all over at the corn maze, and Skyler had to drive each one at least once!


A vintage fire truck was open for children to explore as well! We made a few stops and Skyler loved standing inside and looking up the ladder. Even though we didn't do the corn maze, we did try out the much smaller hay maze which was perfect for a toddler! 


The little wooden train was one of Skyler's favorite parts of our trip. There were several tunnels to crawl through, windows for peek-a-boo, and a great bell to ring.


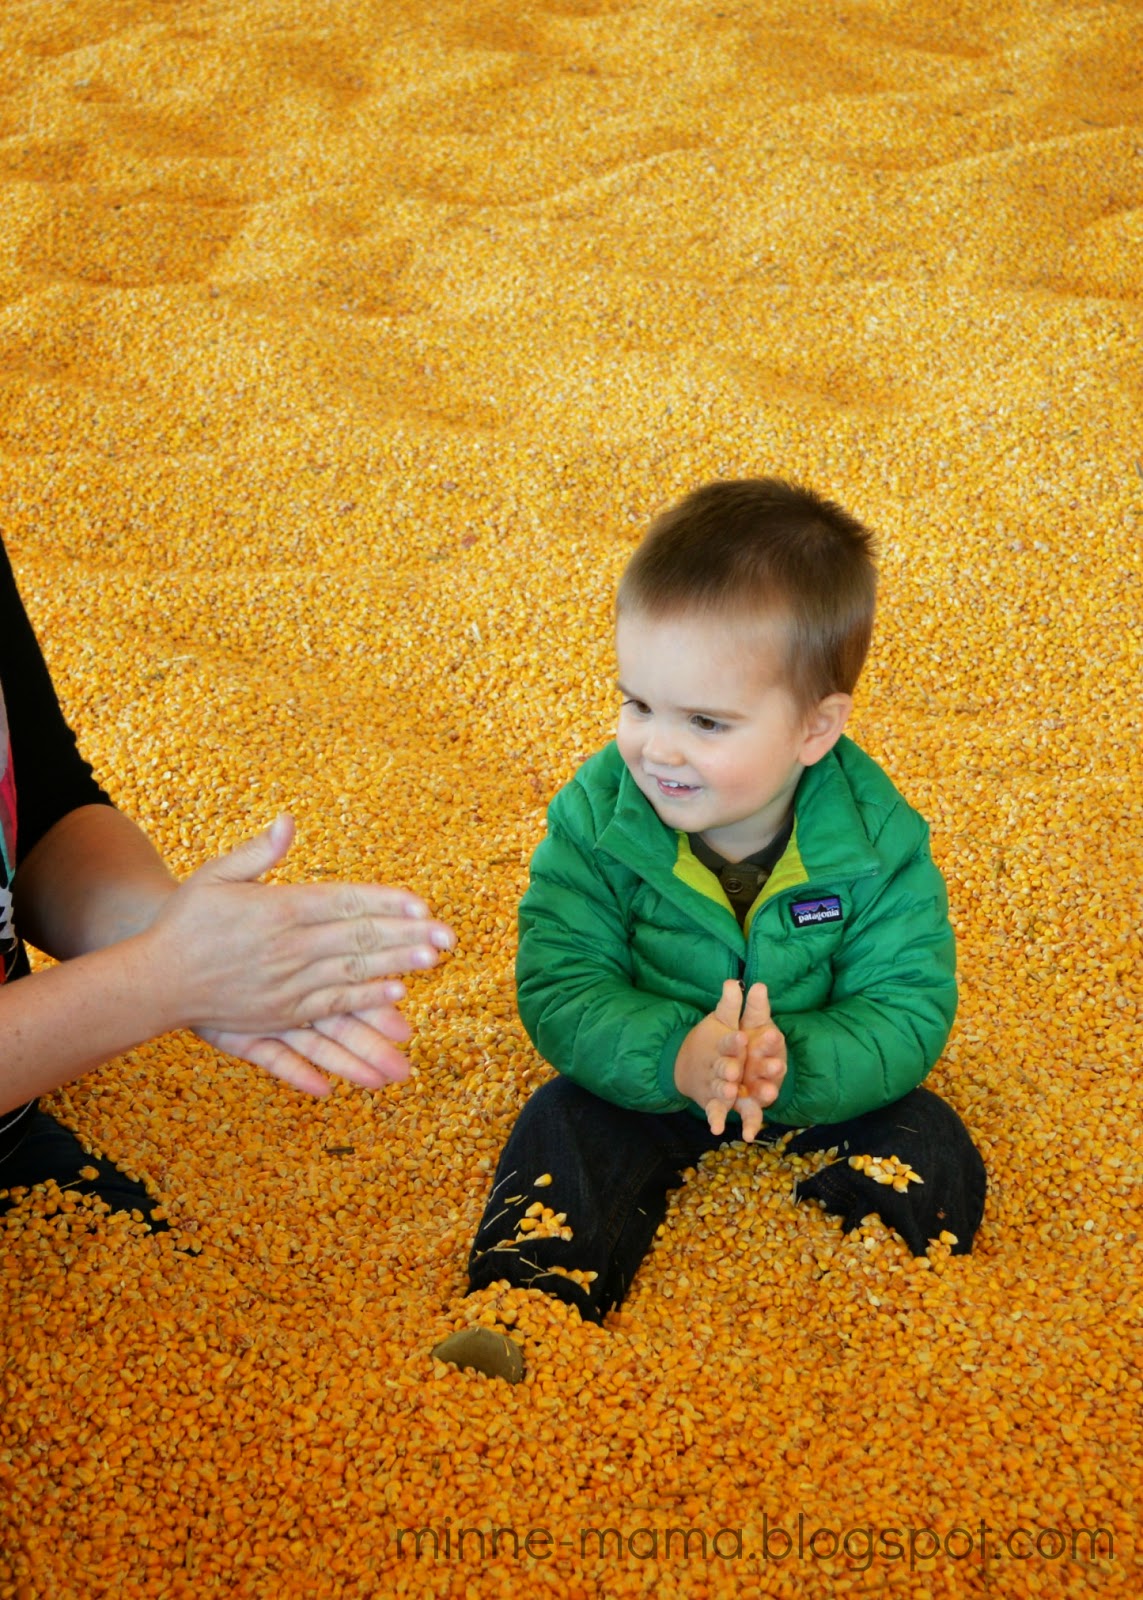
My favorite was the corn pit. It was surprisingly hard to move around in the deep corn (especially at 30+ weeks pregnant!) and the corn was really cold. We had so much fun running it through our fingers, listening to the corn rain down, and walking as fast as we could before falling down. Of course there were several round of leg burying with the corn, which I found so much more enjoyable than being covered with sand!


The animals (kangaroos, lemurs, capybaras, and ostriches among the most interesting) and a ton of wooden signs with face cut-outs were other favorites for this little guy!


The purpose of our trip was to pick out some pumpkins to decorate, so we couldn't forget to stop at the pumpkin patch on our way out. After the longest nap ever (Thank you, Sever's!) we spent the afternoon decorating Skyler's three pumpkins. Skyler had a blast decorating his pumpkins almost entirely on his own! We started off by opening up one of the pumpkins to have a little sensory play.


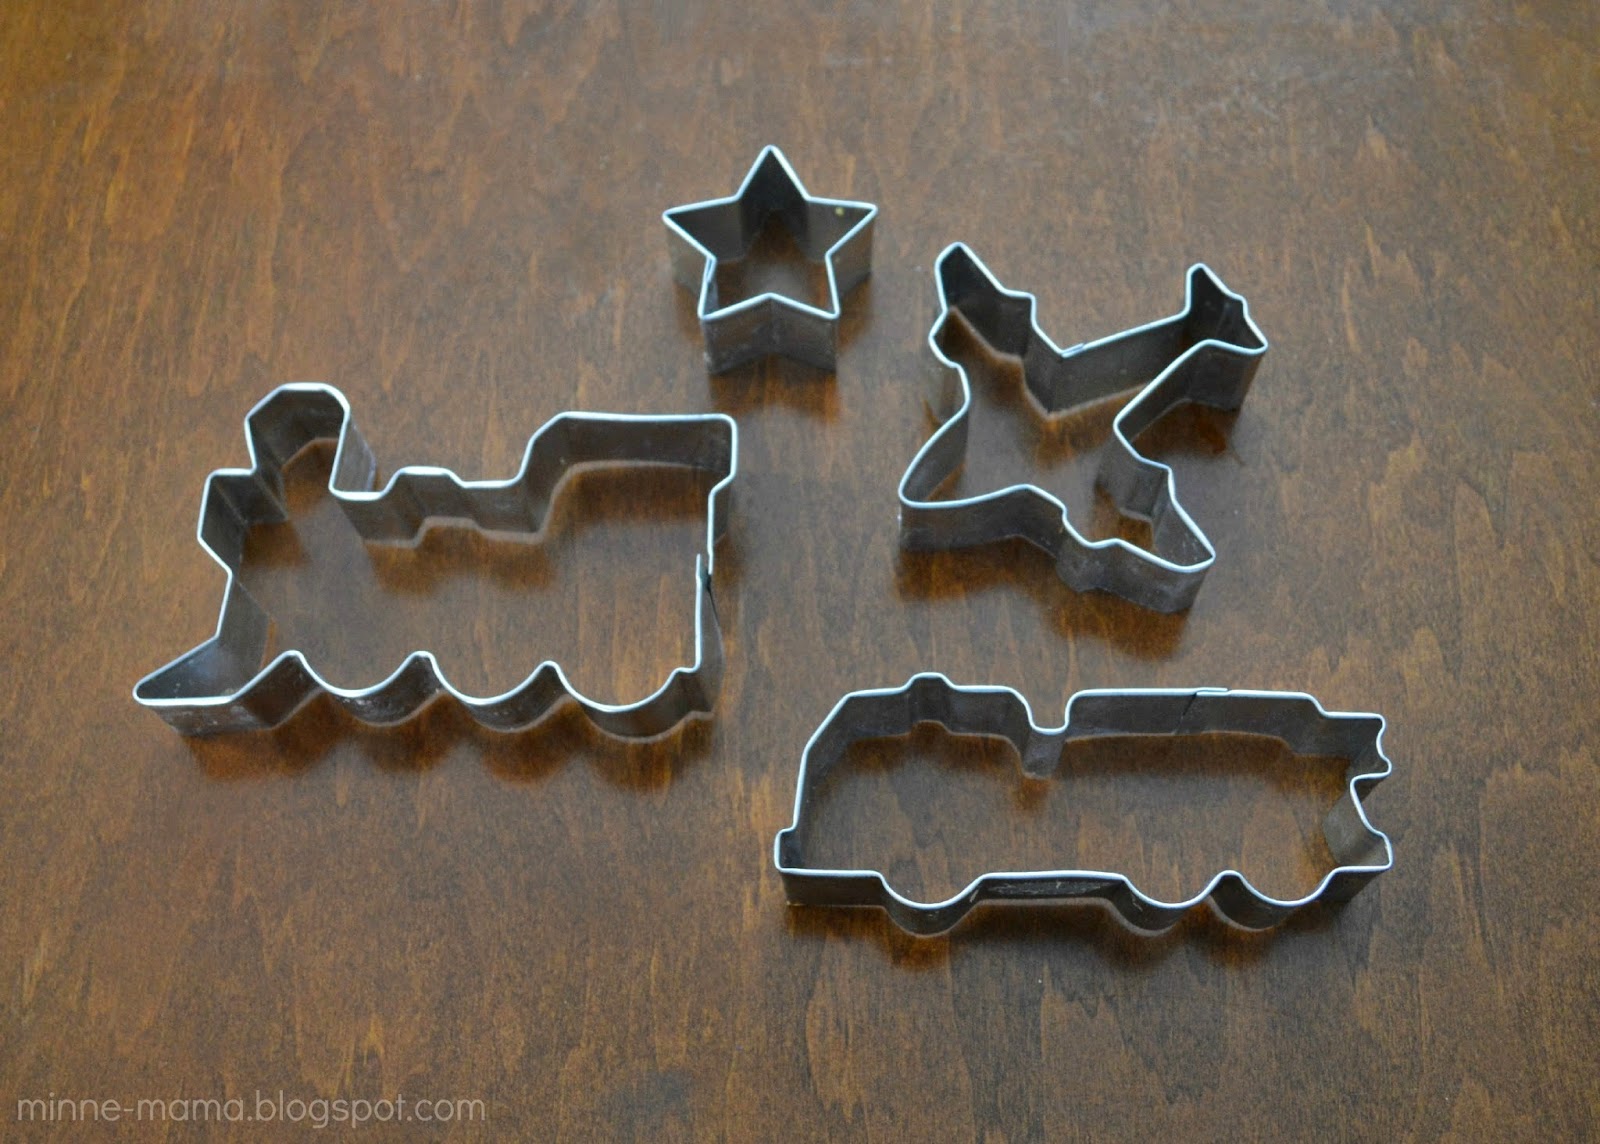
I knew I wanted to have Skyler try the cookie cutter and rubber mallet method, so I went in search of cookie cutters that he would love and ended up with an assortment of vehicles. He was so excited to get started with this pumpkin!


This was so much fun to do and Skyler loved it! I thought we would be able to fit more cutouts, but we ended up with one of each before Skyler started to lose interest.


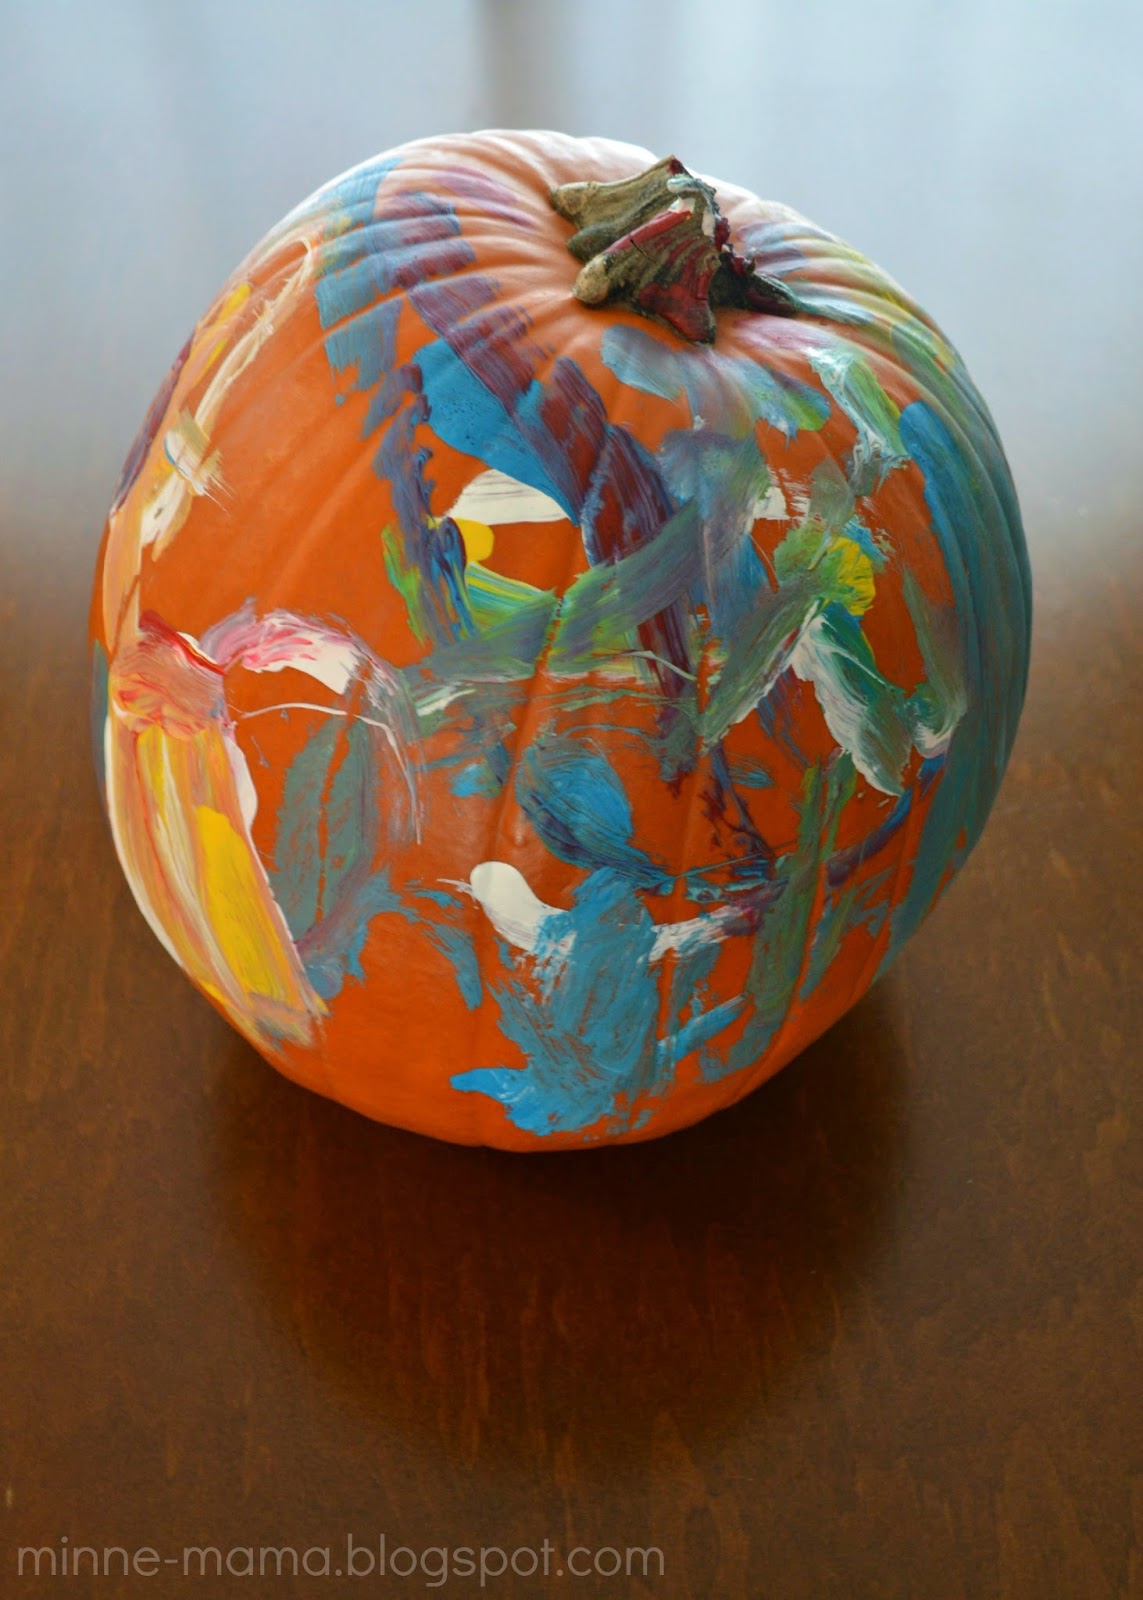
Up next we did a simple painted pumpkin which was Skyler's favorite to do! Last year for his pumpkin we did finger paints (with a tape resist S) that he covered with stickers once dry. Whether it was the age difference, or using the brush instead of his fingers, he had so much more fun decorating with these methods this year! He sat and carefully painted his pumpkin until every side was filled, politely asking for more paint whenever he ran out.


Similar to last year, we did a simple sticker pumpkin for the third and final decoration. These were actually the leftover stickers from last year. Again, this was a completely independent pumpkin for Skyler to decorate since he can easily remove the foam stickers from the backing. He did this pumpkin very quickly.


Skyler's foam sticker decorated pumpkin turned out so fun and glittery. I was kind of surprised all of his stickers stayed on one side!


The cut out pumpkin turned out pretty cute, but I am excited to see it lit up when it gets dark out! We haven't had a chance to try it out the past two nights, but Skyler will be so excited to see the glowing vehicles tomorrow night!


Skyler's beautifully painted pumpkin is my favorite one. He worked so hard on it and I think it turned out so cute! We have an owl shaped pumpkin holder that I am excited to put out on our front step to hold this pumpkin.


These three simple decorating techniques were great for a very independent toddler! Each one was a lot of fun on its own, and you definitely do not need three pumpkins to do all of these. Last year we had fun painting and (once dry) placing stickers on one pumpkin. Painting and cookie cutouts would be another easy one to combine on one pumpkin.

Thursday, October 9, 2014

Little Pumpkin Craft

Minne-Mama is on Facebook! 'Like' us to stay updated on our fun crafts and activities! 
Thank you for stopping by! 

This fun craft was one of the ways Skyler and I dealt with Joe being away for the past week and a half. I posted on Instagram the last paper "chain" of our most recent daddy countdown. I had fun making the candy corn countdown and Skyler loved taking off a candy for every night daddy was gone! We have since taken off the last candy and can't wait to see him tomorrow!

A few weeks ago we went to the Minnesota Landscape Arboretum (one of our favorite places - where Joe and I got married and the location of more than one family photo shoot!) While we were there, Skyler found this "pumpkin house" and loved playing inside of it. The idea for this craft we made for daddy came from this picture as well as the most common nickname I use for Skyler. I call him "pumpkin" all the time (or some variation of it!)

My little pumpkin with some little pumpkins!

After an accidental similar picture was taken two years in a row, we had to get a third! (9/28/12, 9/21/13, 9/29/14)


To make this little pumpkin craft for daddy, I cut two pieces of contact paper, one for Skyler to decorate with tissue paper and one to cover his craft and a picture to be framed! I cut two orange pumpkin shapes and made one into a frame by just trimming near the edges. We added a green stem and leaf using green paper, white paper, and green paint. 


Skyler loves using contact paper in any way. For his little pumpkin frame, I gave him two shades of orange tissue paper and he carefully filled all of the sticky contact paper!


Once he was done, I placed the picture of him in the middle. 


I put the other piece of contact paper down over both the tissue and picture. This step isn't really necessary, but I liked how it held the tissue paper down. You could just glue the picture on top. 


I glued the pumpkin shaped "frame" on top of the contact paper and cut it out.


At this point, add the stem (and leaf which we made later) and it would make a really cute suncatcher! I actually preferred it as a suncatcher, but wanted it to be more durable for Joe, so I added the other pumpkin shape to the back. 


We made the leaf with one sweet green hand print. Skyler made enough hand prints to make a little pumpkin for our entire family, the boy loves to make hand prints! I wrote on the back, and we are ready to give it to daddy when he gets home!


This little pumpkin craft was a lot of fun for both of us to make, and it could be used for a home decoration/keepsake or given to another family member or teacher!