Showing posts with label Games. Show all posts

Friday, October 30, 2015

Peek-a-BOO Ghost Match

Minne-Mama is on Facebook! 'Like' us to stay updated on our fun crafts and activities! 
Thank you for stopping by! 

We are right in the middle of moving to a new house. With all of the craziness that comes with buying, selling, packing, and moving with two little ones, I haven't been making a lot of activities for Skyler and we have been relying more on finding new ways to play with all of our toys. That got a little harder when we started packing up as many toys as possible in preparation for our move. When trying to think of some simple activities we could do with what we still have at home, this match game came to mind.


We have been reading and playing a lot with the theme of Halloween and Skyler is very interested in ghosts lately. I decided to have a fun little number match and scavenger hunt. This could easily be done after Halloween with pumpkins for fall, ornaments for a Christmas tree, Easter eggs, etc.


I had already packed up all of our construction paper, contact paper, and other crafty items I usually use to make games for Skyler, but then I remembered we had our easel still. To make this craft game, I cut out one ghost shape and then traced and cut ten ghosts out of one piece of easel paper, then traced ten more onto a new piece.


I happened to make each one a different color, but this was definitely more of a number match for Skyler. If your little one is younger, you could use less numbers or just have it as a color match!


I hid the ten ghosts around our living room with pieces of tape and Skyler had so much fun running around and collecting his ghosts. I thought he would have to work a little harder to match the numbers, but he would look at it while he ran to the easel and by the time he made it there, he already knew exactly where to put it. I might have to go up to 15 or 20 on our next number match!


This face when he found the last one hiding behind the couch just makes me smile!


Even though I just used tape, we have been able to use the ghosts a few times! To make the game last longer, you could laminate or cover the ghosts in contact paper, or use velcro in place of tape.


Wednesday, July 22, 2015

Simple Bowling Game


Wow! I didn't think that after Emerson's arrival I would be taking such a long break. Being the single parent of a toddler (/preschooler) and newborn (/baby) is no joke, and while my boys make it as easy on me as possible, unfortunately I have not had time to create and blog as I would have liked! Even though I had many ideas, they just never ended up being written about, and although I would like to say that I have a bunch of stuff coming up soon, I'm not sure when I will be getting back to regular posting. I have been thinking about it more and more lately. I think the deployment has been a big part of my lack of motivation here, and it is very possible that Joe's homecoming will be just what I need to get back into it.

But...this bowling game! I am almost embarrassed to share, it is that simple. Skyler has absolutely loved this lately though! All you need to play is a chunky wood puzzle (we have done it with this Melissa & Doug Farm Wooden Chunky Puzzle, and also with the Melissa & Doug Vehicles Chunky Wooden Puzzle) with semi-smooth bottoms on the pieces and a ball (or ball and bat as Skyler preferred). A little hockey set would work to (We love this hockey stick and ball set!)

This post contains affiliate links for your convenience.

We were playing in the living room during Emerson's nap one morning and as we were playing and talking I started to stand the puzzle pieces up. Skyler asked what I was doing and happened to have the ball and bat in his hands and voila! Our new favorite game was created. We have been playing frequently in our free time (not that we have had much of it lately, we are pretty much always out of the house! Soaking up as much of the sun as we can this summer.)


King of the bowling game!

And one more, because the tongue just makes me laugh! Every picture - tongue hanging out!


Depending on the puzzle you use (shapes, colors, etc.), you can easily make this more of a learning activity and not just a game by calling out "try to knock down the animal that says "moo" or "knock down the piece that is red." Or when several pieces come down, ask the child the question then. "Which animal sounds do those make?" or "What colors (shapes, animals) did you knock down?"

Little brother didn't get to play the bowling game, but we did have fun with blocks on the same day. He sure has changed a lot in the past seven months


We moved Emerson's crib into Skyler's room and they have been sleeping in the same room together since Sunday! First two days were not so good, but each day has gotten better! If I get it more organized/cute I may have to do another room post, since I love taking pictures of it (Like here, here, here, here, and here!) My favorite room in the house! We are taking up every single inch of our tiny space, but I just love our home.

Even though I haven't been posting here, I post frequently on Instagram. You can find me here

If you want more bowling fun, you can find our homemade bowling game here.

Thursday, October 30, 2014

Garbage Truck Play

Thank you for stopping by! 

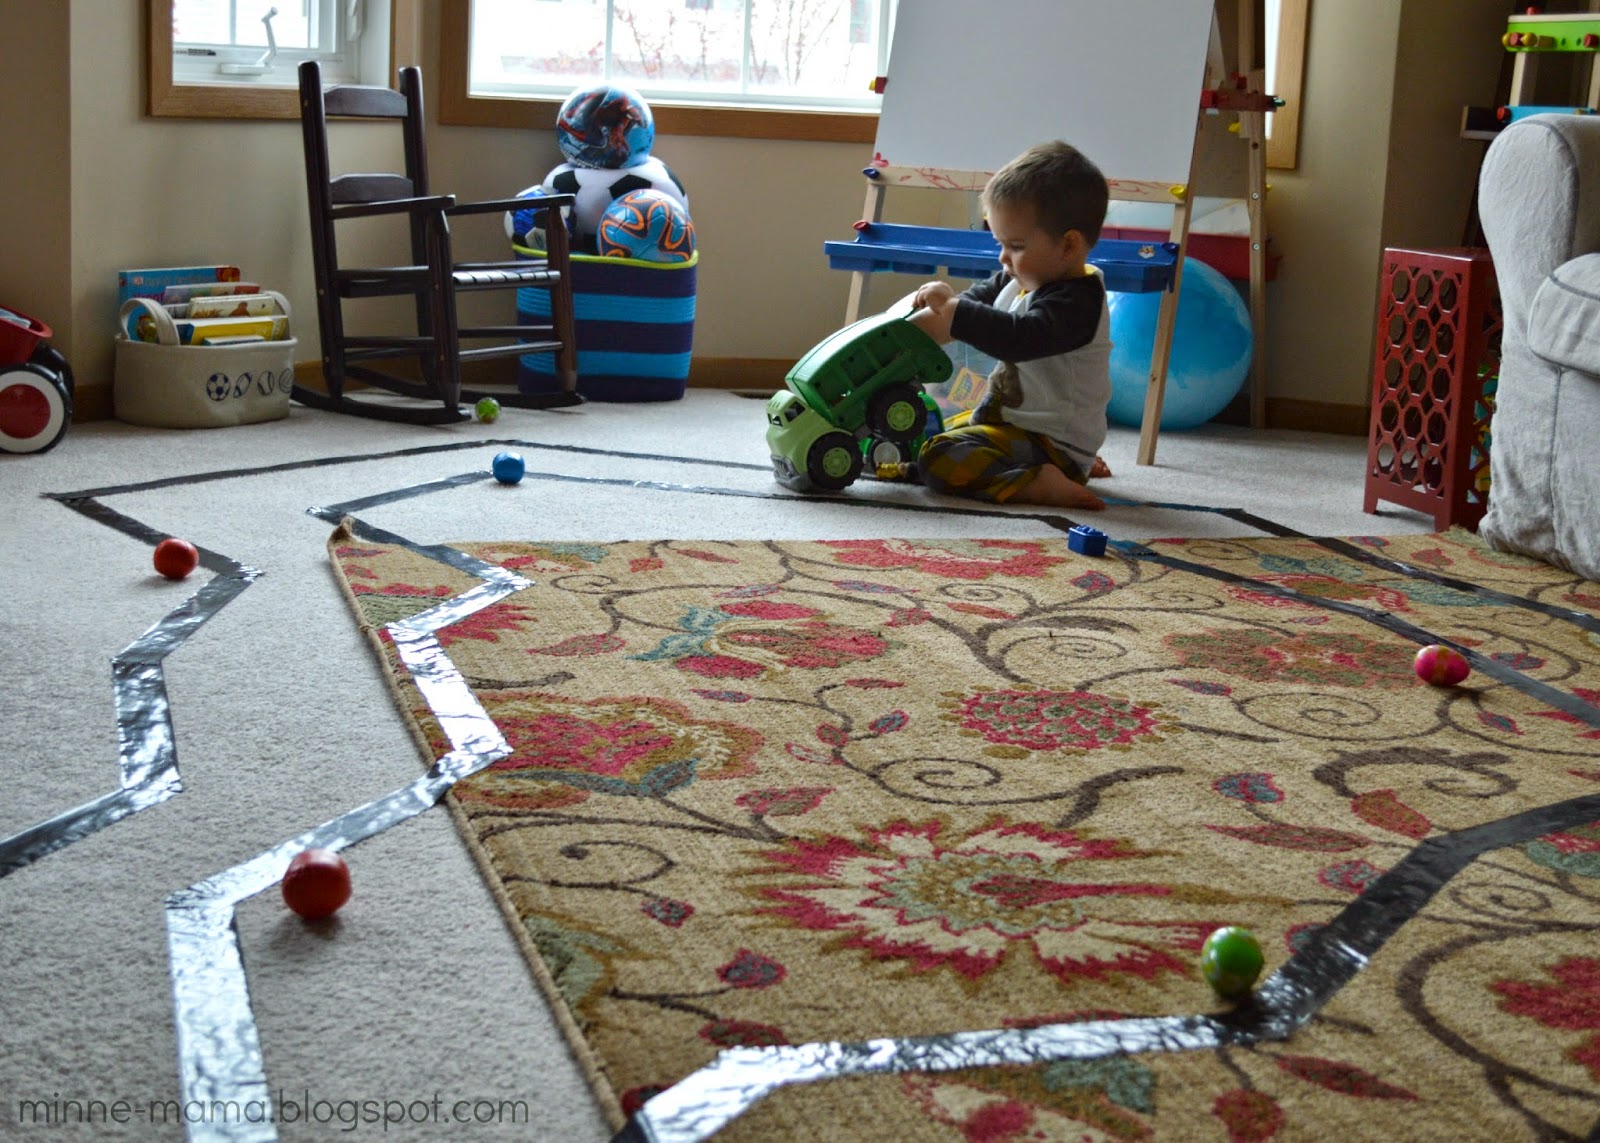
This garbage truck play was a spur of the moment activity that ended up filling our entire morning! We were spending some time playing in the living room and after watching Skyler quietly make several laps around the room with his toy recycling truck, I asked him if he wanted to make a road for his truck. He looked at me like it was the best idea ever, so we quickly got out the black tape and started making a curvy road for his truck. Every time I ripped off a new piece of tape Skyler would giggle and say "Oh! Good one, Mama!" He had a great time helping me place the tape around the carpet to complete the road.

This post contains affiliate links for your convenience.

I grabbed a few small toys to act as the 'garbage' for his truck. We had been listening to his Kindermusik CD earlier in the morning and had to pull out all of his shaker eggs after the song "shake your eggs" came on. In addition to his eggs, I got some balls from his ball ramp and fabric block set, and we had plenty of garbage to set up around on the side of the road!


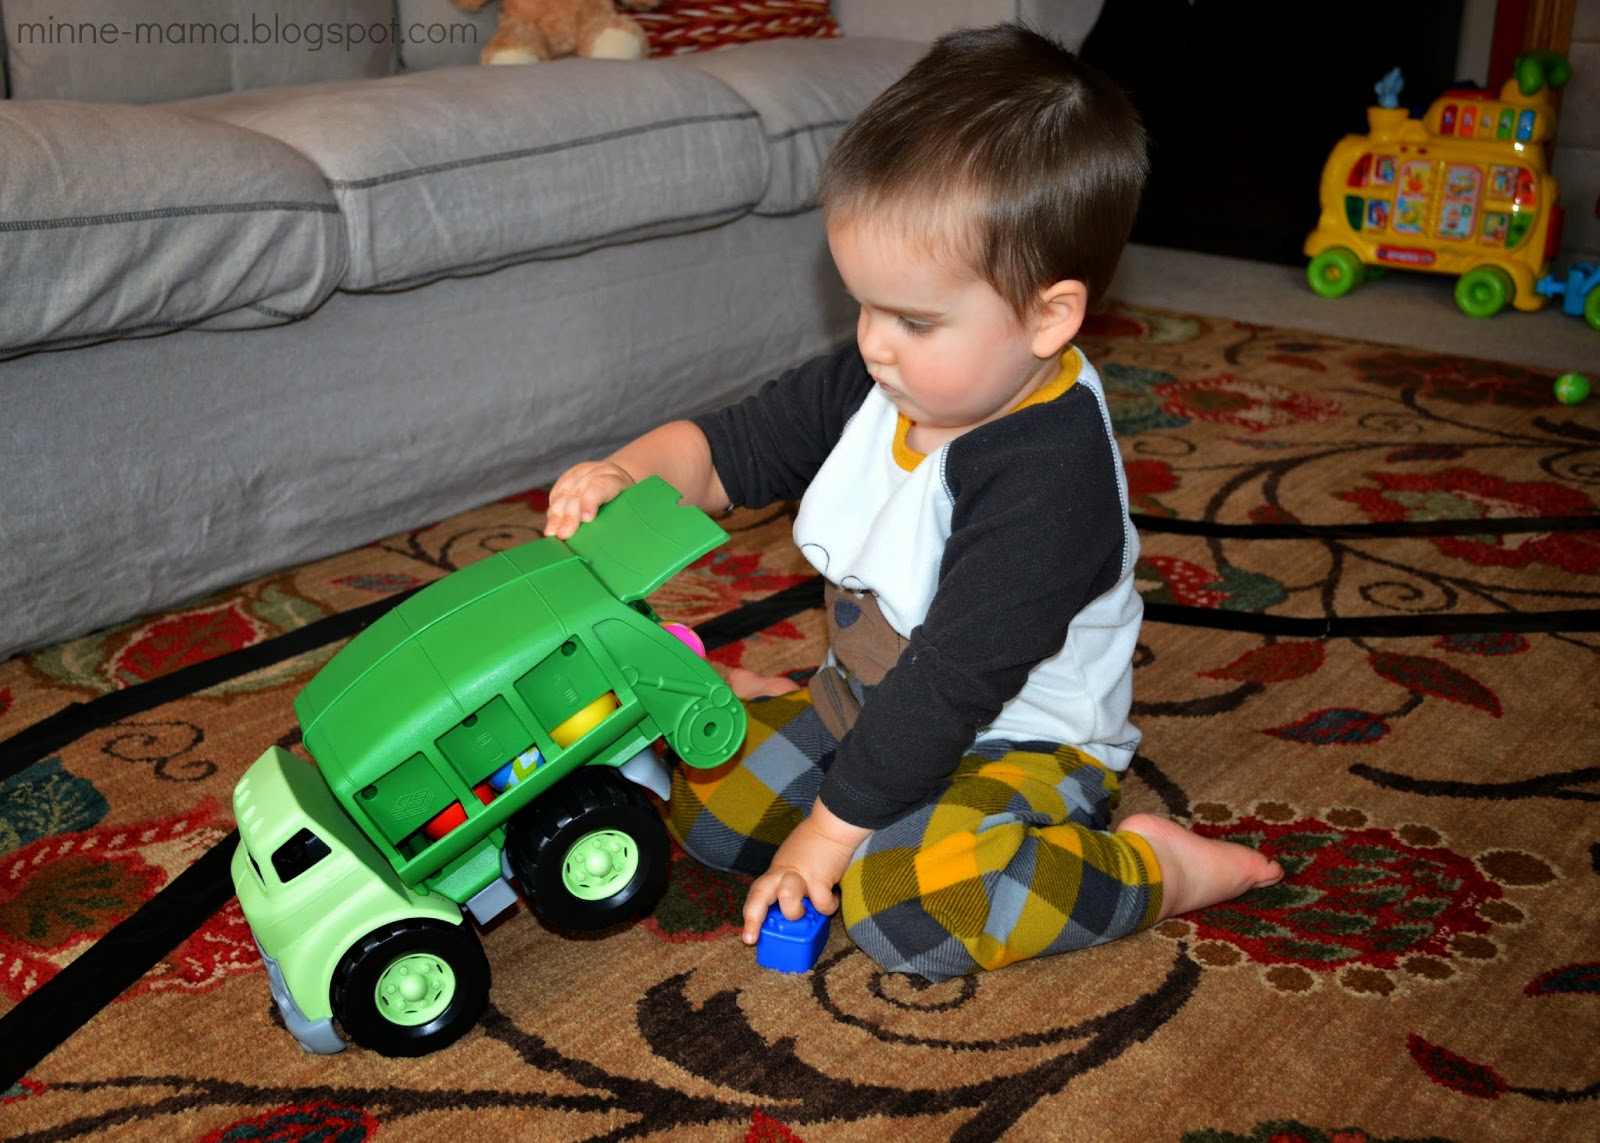
This activity was such a hit with Skyler! He drove his two trucks around and around (this recycling truck from Green Toys is one of Skyler's absolute favorite toys!), stopping to fill the trucks with toys and then setting the garbage back up just to do it again. Every time Skyler looked at me he flashed me this huge smile. His very cheesiest - I love it!!


Over a week later, his black tape road is still going strong on the carpet! He just loves it!! This was our first time making a tape road, and I know it will not be the last. It is such a simple way to extend play time with his vehicles, which are Skyler's absolute favorite toys. The size of the road doesn't matter at all either. He likes it just as much with his small construction vehicles and wooden trains, or with his big riding train too.


Such a fun morning with this sweet boy!


Taking a break from his busy job!

Watching Skyler carefully open his garbage truck and fill it with the toys was a lot of fun to watch. It is always exciting to set up an activity that makes him so happy. Especially when it was completely unplanned! Makes you feel like Supermom :)


It couldn't have been a more perfect day to do this activity either. It was garbage AND recycling day, so we took breaks from playing with our garbage truck track to watch the real trucks do their job. Once the truck was done doing both sides of our street (Skyler's favorite part is when it has to back up to get out to the main road - the beeping is just so fun for a two-year-old!) he would quickly turn around and start playing with his track again! Skyler told me for days after playing this that he was going to drive a garbage truck like a garbage truck man!

Thursday, October 23, 2014

Spider Web Sensory Play

Thank you for stopping by! 


When I picked up spiderweb material and plastic rings for a care package topping, I knew I wanted to use the leftovers in a sensory bin. I couldn't believe that a sensory bin so easy to throw together would keep Skyler so entertained! This bin is a lot of fun!


All I did to put this sensory bin together was pull out handfuls of the web material and fluffed it up a bit before layering it in the bin. It doesn't look like much, but once you pull on it a little, it takes up a lot of space! I scattered the plastic spider rings on top and we were ready to play!


I was pleasantly surprised with how much the spiders grip to the web material. The little legs and ring hold on to the web so whenever you try to pull a spider out it brings a lot of the webbing with it!


The webbing stretches really far! Skyler loved just pulling little bits of it as high as he could reach.


Of course, the spider rings are fun all on their own as well!


The longer you play, the more tangled the rings become. By the end, Skyler would pull up bits of webbing and there would be spiders hidden all throughout the part he pulled. Such a fun peek-a-boo game!


This simple sensory bin is a lot of fun and very festive with Halloween coming up. Just playing with the webbing and spiders was fun for a toddler. Picking out the spiders and carefully picking off all of the webbing stuck to them was great fine motor practice, and older children could do it as a color sort or counting activity. This activity could be extended to many other learning activities.