Sunday, October 12, 2014

Toddler Decorated Pumpkins

Thank you for stopping by! 

We enjoyed a very full and fun family weekend starting off Saturday morning with this trip to Sever's Corn Maze. While we didn't actually do the corn maze, there were so many amazing activities at this spot - I can't believe it was a first time for all of us! Growing up in our hometown, my husband and I have gone to many local pumpkin patches and apple orchards, but not this nearby gem. We cannot wait to go back next year! Here are some of my favorite pictures from the morning. 


Vintage tractors were all over at the corn maze, and Skyler had to drive each one at least once!


A vintage fire truck was open for children to explore as well! We made a few stops and Skyler loved standing inside and looking up the ladder. Even though we didn't do the corn maze, we did try out the much smaller hay maze which was perfect for a toddler! 


The little wooden train was one of Skyler's favorite parts of our trip. There were several tunnels to crawl through, windows for peek-a-boo, and a great bell to ring.


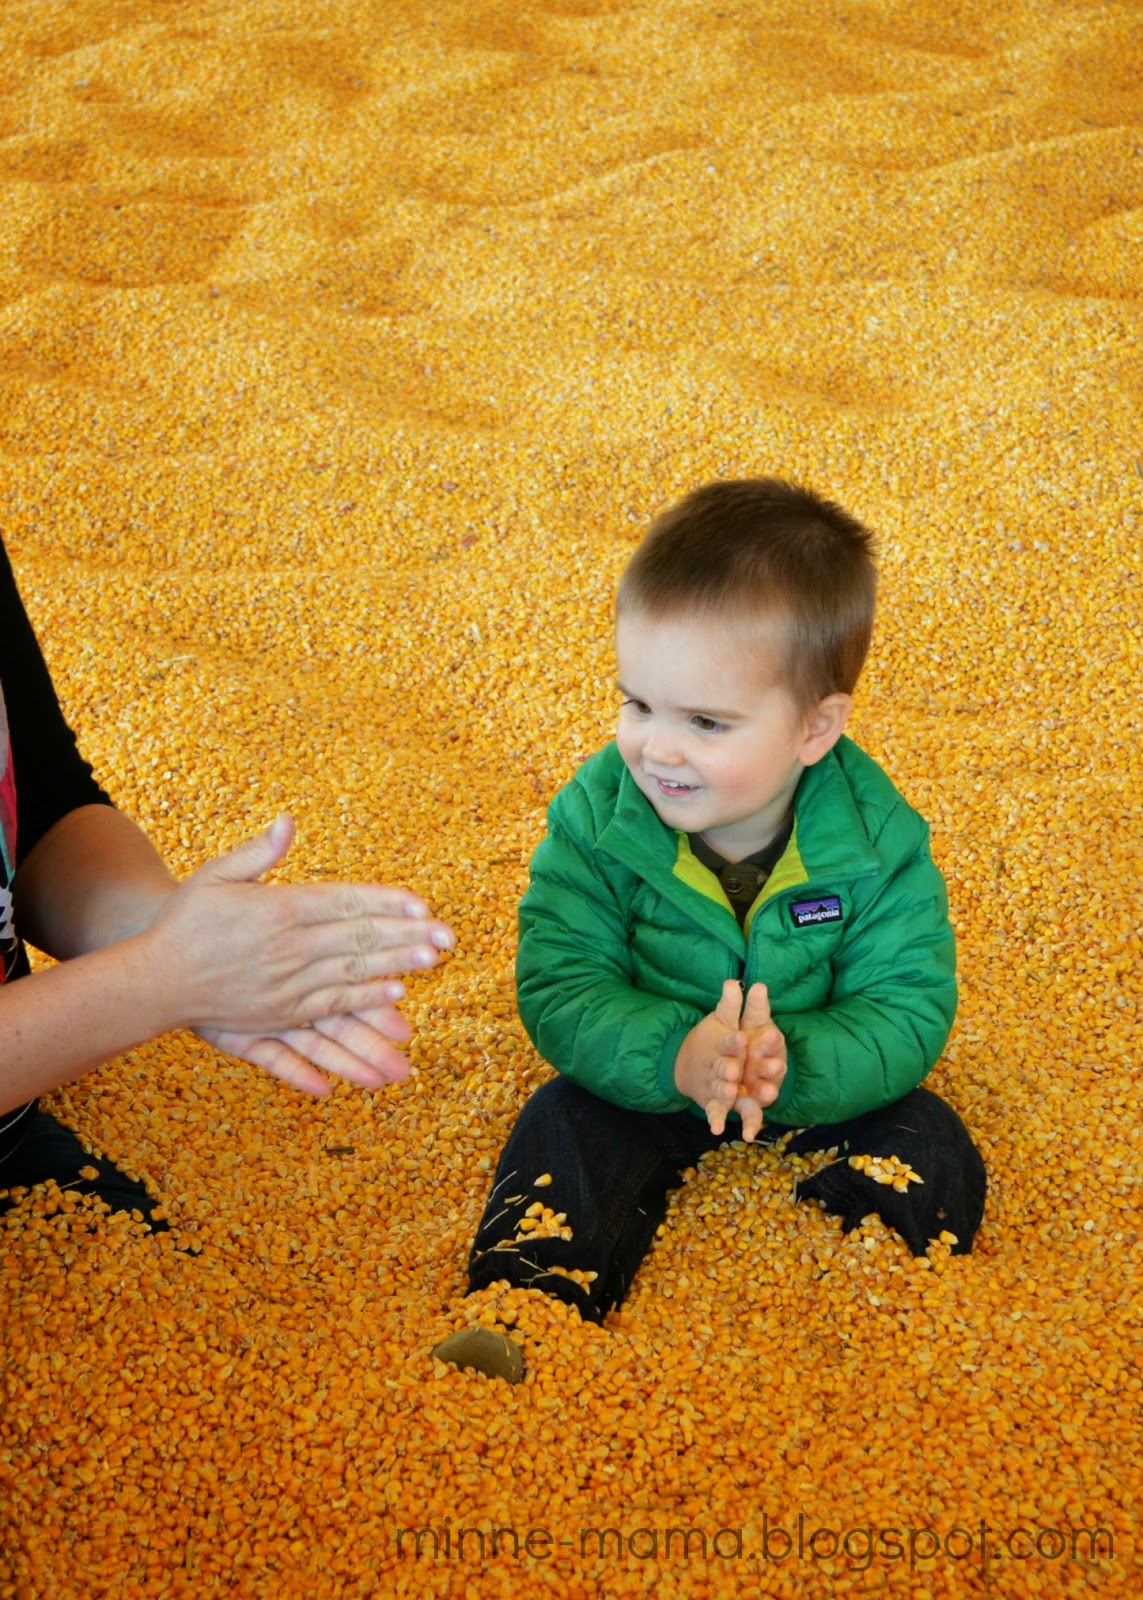
My favorite was the corn pit. It was surprisingly hard to move around in the deep corn (especially at 30+ weeks pregnant!) and the corn was really cold. We had so much fun running it through our fingers, listening to the corn rain down, and walking as fast as we could before falling down. Of course there were several round of leg burying with the corn, which I found so much more enjoyable than being covered with sand!

The animals (kangaroos, lemurs, capybaras, and ostriches among the most interesting) and a ton of wooden signs with face cut-outs were other favorites for this little guy!


The purpose of our trip was to pick out some pumpkins to decorate, so we couldn't forget to stop at the pumpkin patch on our way out. After the longest nap ever (Thank you, Sever's!) we spent the afternoon decorating Skyler's three pumpkins. Skyler had a blast decorating his pumpkins almost entirely on his own! We started off by opening up one of the pumpkins to have a little sensory play.


I knew I wanted to have Skyler try the cookie cutter and rubber mallet method, so I went in search of cookie cutters that he would love and ended up with an assortment of vehicles. He was so excited to get started with this pumpkin!
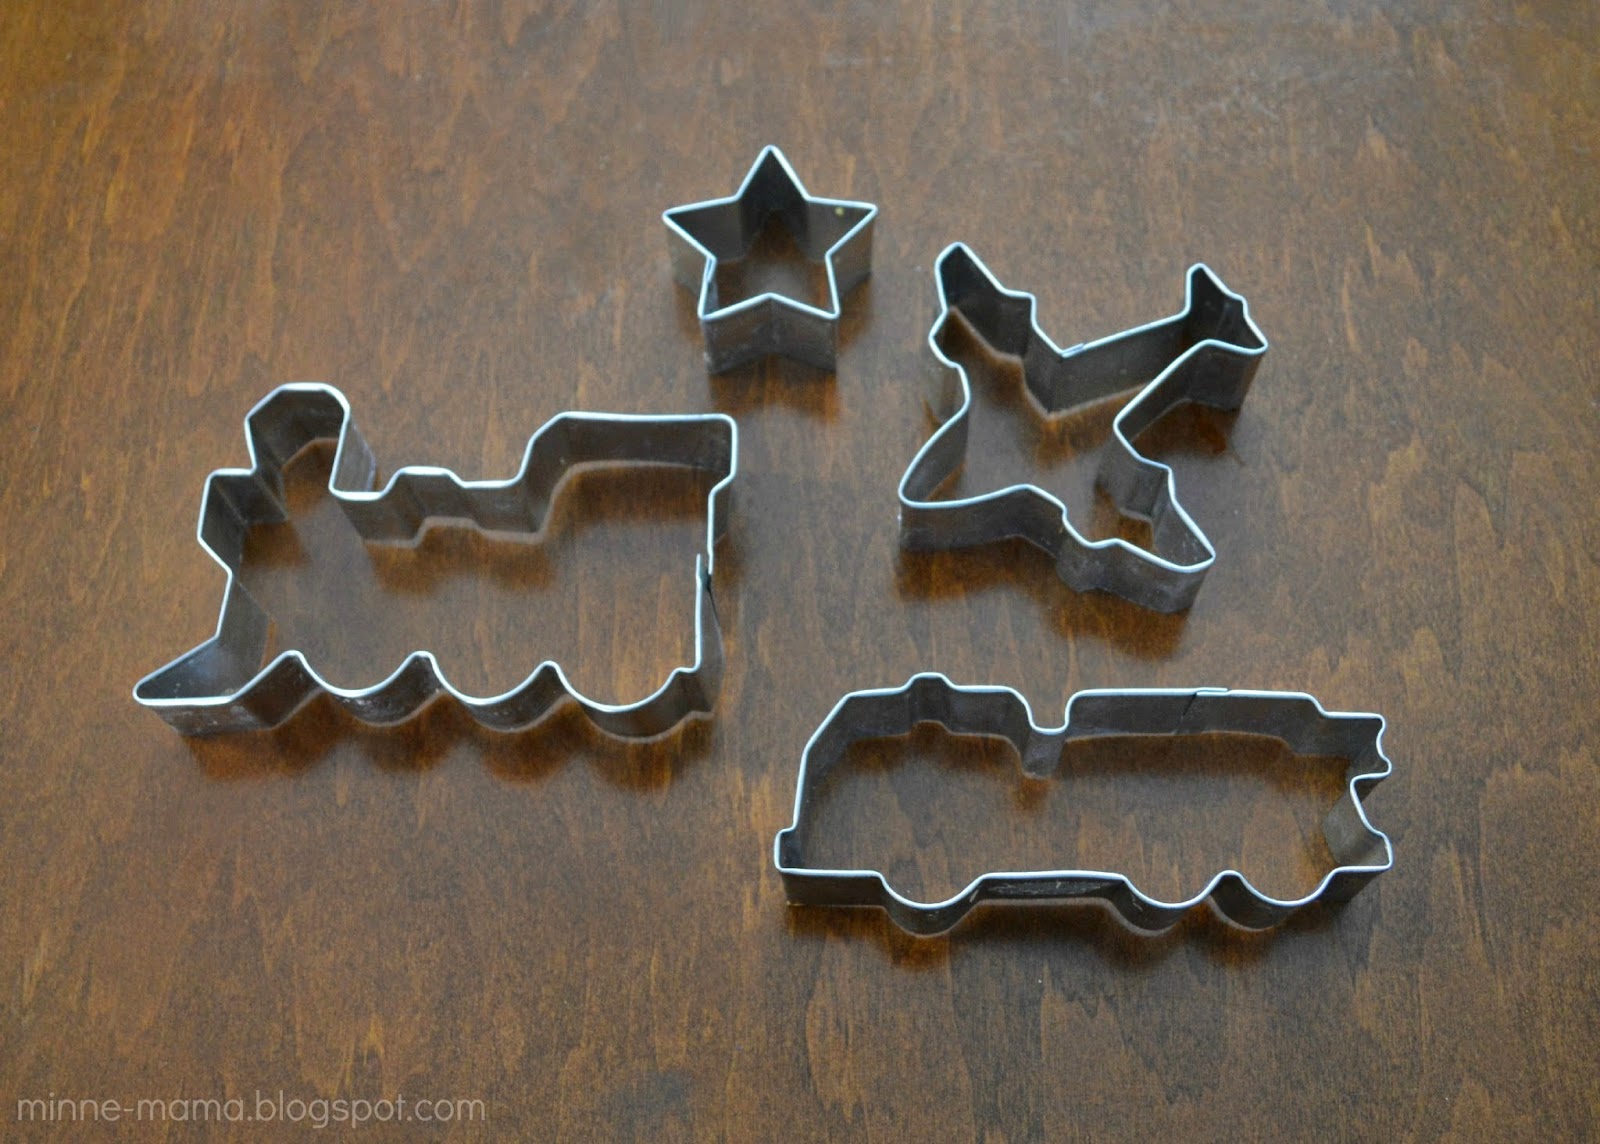

This was so much fun to do and Skyler loved it! I thought we would be able to fit more cutouts, but we ended up with one of each before Skyler started to lose interest.


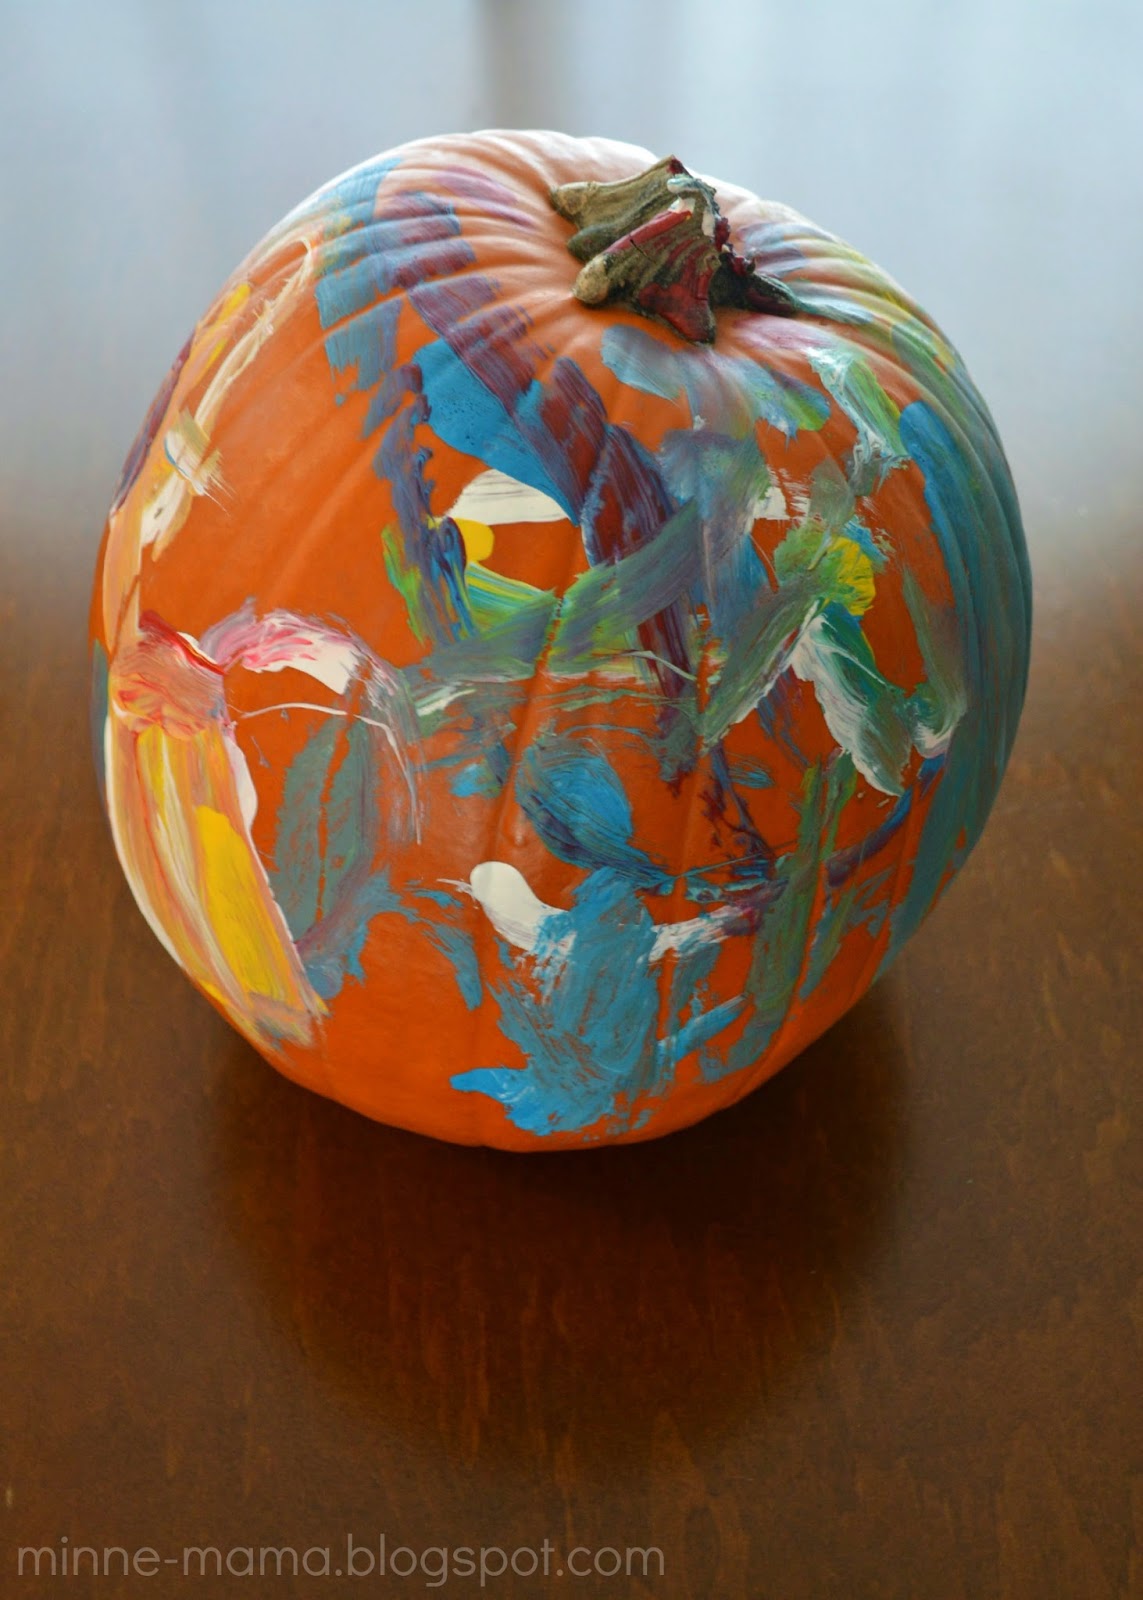
Up next we did a simple painted pumpkin which was Skyler's favorite to do! Last year for his pumpkin we did finger paints (with a tape resist S) that he covered with stickers once dry. Whether it was the age difference, or using the brush instead of his fingers, he had so much more fun decorating with these methods this year! He sat and carefully painted his pumpkin until every side was filled, politely asking for more paint whenever he ran out.


Similar to last year, we did a simple sticker pumpkin for the third and final decoration. These were actually the leftover stickers from last year. Again, this was a completely independent pumpkin for Skyler to decorate since he can easily remove the foam stickers from the backing. He did this pumpkin very quickly.


Skyler's foam sticker decorated pumpkin turned out so fun and glittery. I was kind of surprised all of his stickers stayed on one side!


The cut out pumpkin turned out pretty cute, but I am excited to see it lit up when it gets dark out! We haven't had a chance to try it out the past two nights, but Skyler will be so excited to see the glowing vehicles tomorrow night!


Skyler's beautifully painted pumpkin is my favorite one. He worked so hard on it and I think it turned out so cute! We have an owl shaped pumpkin holder that I am excited to put out on our front step to hold this pumpkin.

These three simple decorating techniques were great for a very independent toddler! Each one was a lot of fun on its own, and you definitely do not need three pumpkins to do all of these. Last year we had fun painting and (once dry) placing stickers on one pumpkin. Painting and cookie cutouts would be another easy one to combine on one pumpkin.

Thursday, October 9, 2014

Little Pumpkin Craft

Minne-Mama is on Facebook! 'Like' us to stay updated on our fun crafts and activities! 
Thank you for stopping by! 

This fun craft was one of the ways Skyler and I dealt with Joe being away for the past week and a half. I posted on Instagram the last paper "chain" of our most recent daddy countdown. I had fun making the candy corn countdown and Skyler loved taking off a candy for every night daddy was gone! We have since taken off the last candy and can't wait to see him tomorrow!

A few weeks ago we went to the Minnesota Landscape Arboretum (one of our favorite places - where Joe and I got married and the location of more than one family photo shoot!) While we were there, Skyler found this "pumpkin house" and loved playing inside of it. The idea for this craft we made for daddy came from this picture as well as the most common nickname I use for Skyler. I call him "pumpkin" all the time (or some variation of it!)

My little pumpkin with some little pumpkins!

After an accidental similar picture was taken two years in a row, we had to get a third! (9/28/12, 9/21/13, 9/29/14)


To make this little pumpkin craft for daddy, I cut two pieces of contact paper, one for Skyler to decorate with tissue paper and one to cover his craft and a picture to be framed! I cut two orange pumpkin shapes and made one into a frame by just trimming near the edges. We added a green stem and leaf using green paper, white paper, and green paint. 


Skyler loves using contact paper in any way. For his little pumpkin frame, I gave him two shades of orange tissue paper and he carefully filled all of the sticky contact paper!


Once he was done, I placed the picture of him in the middle. 


I put the other piece of contact paper down over both the tissue and picture. This step isn't really necessary, but I liked how it held the tissue paper down. You could just glue the picture on top. 


I glued the pumpkin shaped "frame" on top of the contact paper and cut it out.


At this point, add the stem (and leaf which we made later) and it would make a really cute suncatcher! I actually preferred it as a suncatcher, but wanted it to be more durable for Joe, so I added the other pumpkin shape to the back. 


We made the leaf with one sweet green hand print. Skyler made enough hand prints to make a little pumpkin for our entire family, the boy loves to make hand prints! I wrote on the back, and we are ready to give it to daddy when he gets home!


This little pumpkin craft was a lot of fun for both of us to make, and it could be used for a home decoration/keepsake or given to another family member or teacher!

Thursday, September 18, 2014

Fall Tree Contact Paper Play

Minne-Mama is on Facebook! 'Like' us to stay updated on our fun crafts and activities! 
Thank you for stopping by! 


We have been enjoying some fall decorating around our house. We made Fun at Home with Kids beautiful leaf suncatchers and Skyler put up decals on his windows all on his own! It has been awhile since we had anything on our dining room window, so I decided it was time for a new contact paper play scene. You can see our Christmas Tree, Valentine Heart, Tissue Paper Rainbow, and Easter Egg Basket from past months.


Many trees have started changing colors around our house and we always talk about the colors as we walk or drive around. I knew Skyler would enjoy his own little tree to decorate. To make our contact paper tree, all I used was a piece of Contact Paper, a brown sharpie, scissors, tape, and fake fall leaves that I cut off a garland last year for our fall leaf sensory bin. This activity is incredible simple to set up and a fun seasonal way to play and decorate!


I started by drawing out the outline of a tree on the non-stick side of the contact paper. If I were to do this again, I would have colored in or painted the tree trunk and limbs. It is actually a lot easier to see when standing next to it, but it would look more festive if the tree could be more easily seen with or without leaves on it. 


After drawing the tree I peeled off the backing of the contact paper, held the non-stick side up to our door and taped the edges with the sticky side facing out. We were ready to play just minutes after starting! A very quick and fun activity for the last minute. I put the leaves into a bowl for Skyler and he happily started to decorate his tree.


Skyler also had fun making the leaves "fall" which we haven't seen this year yet, but we talk about it when we see the changing colors! It was cool because the leaves have to be pressed down pretty well for them to stick, so as he was playing the occasional leaf would fall to the ground - just like a real fall tree.


The sticky paper is fun to touch all on its own! Skyler went back to the contact paper tree throughout the afternoon and enjoyed playing with the leaves on their own and with his trucks as well. The set up was a cinch and I know he will have fun with this festive decoration for many days to come.

Tuesday, September 9, 2014

Getting Ready

Minne-Mama is on Facebook! 'Like' us to stay updated on our fun crafts and activities! 
Thank you for stopping by! 

Last night, hubby and I started a movie on Netflix and got to work organizing Skyler's summer clothing into bins to make room for his new fall/winter clothing. We weren't just adding to the bins, but we also took out some of the older bags that I last organized about a year ago - out came the newborn clothes, sleep sacks, 0-3 month clothing, and itty bitty socks and hats in preparation for our little one's arrival!!

Eeek!! It was so fun to pull out these tiny clothes again!!

I have been itching to not only prepare Skyler's closet for his new clothing, but to see how much we are going to need to get for the new baby. With Skyler's birthday in June and baby E's ETA in December, we are complete opposite seasons for clothing. Luckily, we have a lot that will work, but I am excited that I get to buy this baby some new clothing of his own as well!! 

This post contains affiliate links for your convenience.

When I started organizing Skyler's clothing, I got rid of nothing and I am especially glad now that I even saved things he never wore because we might need them this time around. When we started accumulating baby clothes that Skyler was growing out of, I bought two massive bins from the Container Store and a pack of vacuum seal bags. 

I usually just toss the stuff he grows out of into a box in his closet and when it begins to overflow I go through and sort the clothes into similar sizes (I combine seasons, his 12 month bag has fleece Santa pajamas and summer shorts, but I just wanted to focus on size), fold them and stuff them into a bag along with a post it with the size(s) written on it. I also do separate bags for things like socks, hats, and mittens, and I have a separate bag for all of the handmade sweaters we get since they are harder to size.


This is the kind of thing I love to do, and it makes the upcoming arrival of baby #2 feel so so real!