Showing posts with label Fine Motor. Show all posts

Friday, October 30, 2015

Peek-a-BOO Ghost Match

Minne-Mama is on Facebook! 'Like' us to stay updated on our fun crafts and activities! 
Thank you for stopping by! 

We are right in the middle of moving to a new house. With all of the craziness that comes with buying, selling, packing, and moving with two little ones, I haven't been making a lot of activities for Skyler and we have been relying more on finding new ways to play with all of our toys. That got a little harder when we started packing up as many toys as possible in preparation for our move. When trying to think of some simple activities we could do with what we still have at home, this match game came to mind.


We have been reading and playing a lot with the theme of Halloween and Skyler is very interested in ghosts lately. I decided to have a fun little number match and scavenger hunt. This could easily be done after Halloween with pumpkins for fall, ornaments for a Christmas tree, Easter eggs, etc.


I had already packed up all of our construction paper, contact paper, and other crafty items I usually use to make games for Skyler, but then I remembered we had our easel still. To make this craft game, I cut out one ghost shape and then traced and cut ten ghosts out of one piece of easel paper, then traced ten more onto a new piece.


I happened to make each one a different color, but this was definitely more of a number match for Skyler. If your little one is younger, you could use less numbers or just have it as a color match!


I hid the ten ghosts around our living room with pieces of tape and Skyler had so much fun running around and collecting his ghosts. I thought he would have to work a little harder to match the numbers, but he would look at it while he ran to the easel and by the time he made it there, he already knew exactly where to put it. I might have to go up to 15 or 20 on our next number match!


This face when he found the last one hiding behind the couch just makes me smile!


Even though I just used tape, we have been able to use the ghosts a few times! To make the game last longer, you could laminate or cover the ghosts in contact paper, or use velcro in place of tape.


Thursday, October 23, 2014

Spider Web Sensory Play

Thank you for stopping by! 


When I picked up spiderweb material and plastic rings for a care package topping, I knew I wanted to use the leftovers in a sensory bin. I couldn't believe that a sensory bin so easy to throw together would keep Skyler so entertained! This bin is a lot of fun!


All I did to put this sensory bin together was pull out handfuls of the web material and fluffed it up a bit before layering it in the bin. It doesn't look like much, but once you pull on it a little, it takes up a lot of space! I scattered the plastic spider rings on top and we were ready to play!


I was pleasantly surprised with how much the spiders grip to the web material. The little legs and ring hold on to the web so whenever you try to pull a spider out it brings a lot of the webbing with it!


The webbing stretches really far! Skyler loved just pulling little bits of it as high as he could reach.


Of course, the spider rings are fun all on their own as well!


The longer you play, the more tangled the rings become. By the end, Skyler would pull up bits of webbing and there would be spiders hidden all throughout the part he pulled. Such a fun peek-a-boo game!


This simple sensory bin is a lot of fun and very festive with Halloween coming up. Just playing with the webbing and spiders was fun for a toddler. Picking out the spiders and carefully picking off all of the webbing stuck to them was great fine motor practice, and older children could do it as a color sort or counting activity. This activity could be extended to many other learning activities.

Sunday, October 12, 2014

Toddler Decorated Pumpkins

Thank you for stopping by! 

We enjoyed a very full and fun family weekend starting off Saturday morning with this trip to Sever's Corn Maze. While we didn't actually do the corn maze, there were so many amazing activities at this spot - I can't believe it was a first time for all of us! Growing up in our hometown, my husband and I have gone to many local pumpkin patches and apple orchards, but not this nearby gem. We cannot wait to go back next year! Here are some of my favorite pictures from the morning. 


Vintage tractors were all over at the corn maze, and Skyler had to drive each one at least once!


A vintage fire truck was open for children to explore as well! We made a few stops and Skyler loved standing inside and looking up the ladder. Even though we didn't do the corn maze, we did try out the much smaller hay maze which was perfect for a toddler! 


The little wooden train was one of Skyler's favorite parts of our trip. There were several tunnels to crawl through, windows for peek-a-boo, and a great bell to ring.


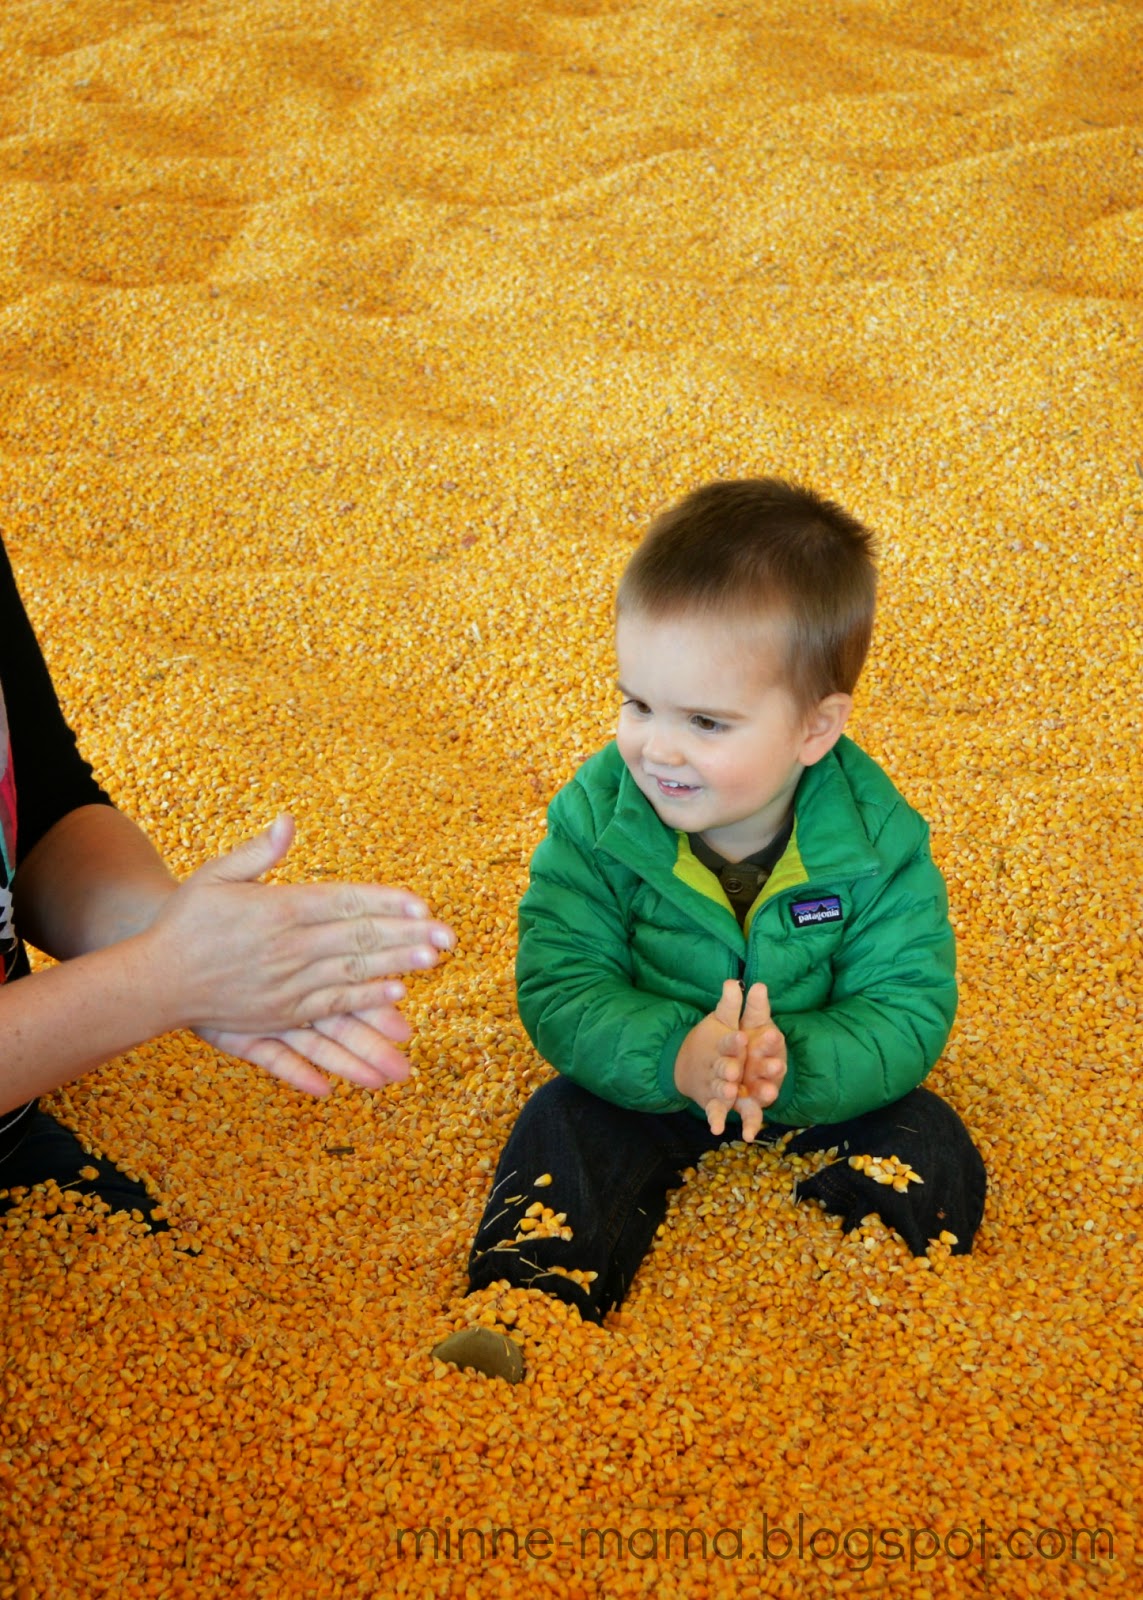
My favorite was the corn pit. It was surprisingly hard to move around in the deep corn (especially at 30+ weeks pregnant!) and the corn was really cold. We had so much fun running it through our fingers, listening to the corn rain down, and walking as fast as we could before falling down. Of course there were several round of leg burying with the corn, which I found so much more enjoyable than being covered with sand!


The animals (kangaroos, lemurs, capybaras, and ostriches among the most interesting) and a ton of wooden signs with face cut-outs were other favorites for this little guy!


The purpose of our trip was to pick out some pumpkins to decorate, so we couldn't forget to stop at the pumpkin patch on our way out. After the longest nap ever (Thank you, Sever's!) we spent the afternoon decorating Skyler's three pumpkins. Skyler had a blast decorating his pumpkins almost entirely on his own! We started off by opening up one of the pumpkins to have a little sensory play.


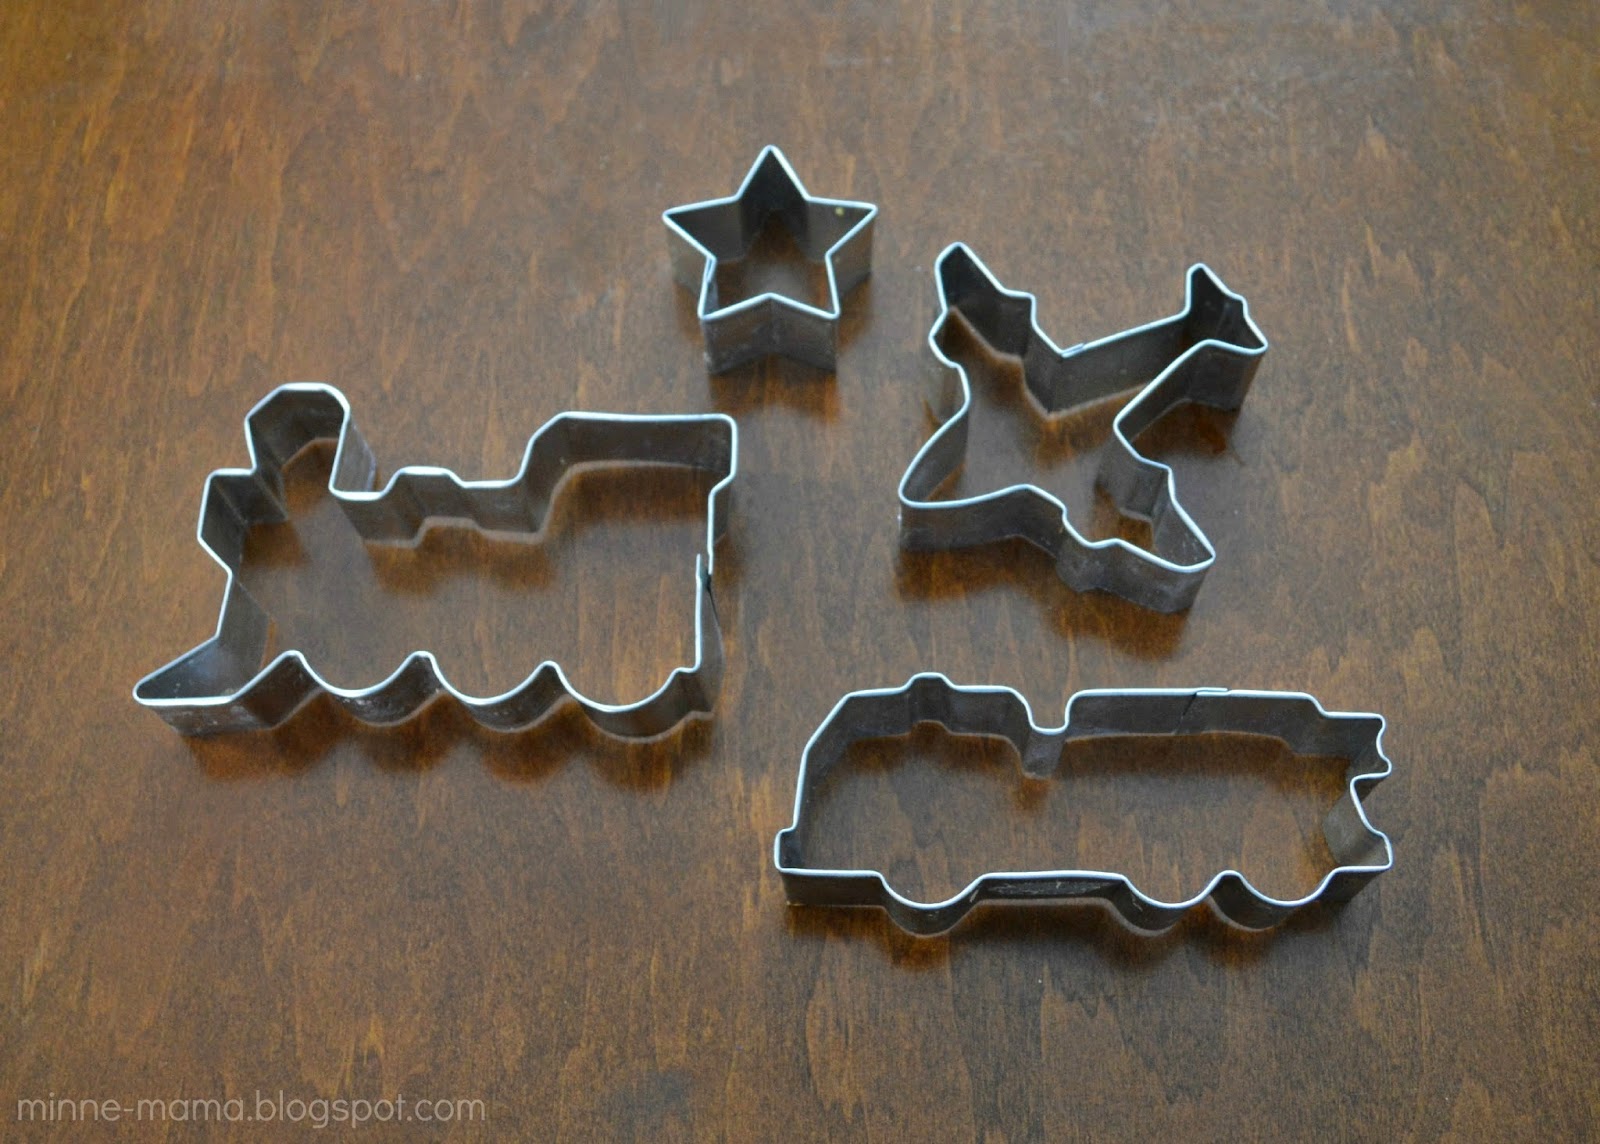
I knew I wanted to have Skyler try the cookie cutter and rubber mallet method, so I went in search of cookie cutters that he would love and ended up with an assortment of vehicles. He was so excited to get started with this pumpkin!


This was so much fun to do and Skyler loved it! I thought we would be able to fit more cutouts, but we ended up with one of each before Skyler started to lose interest.


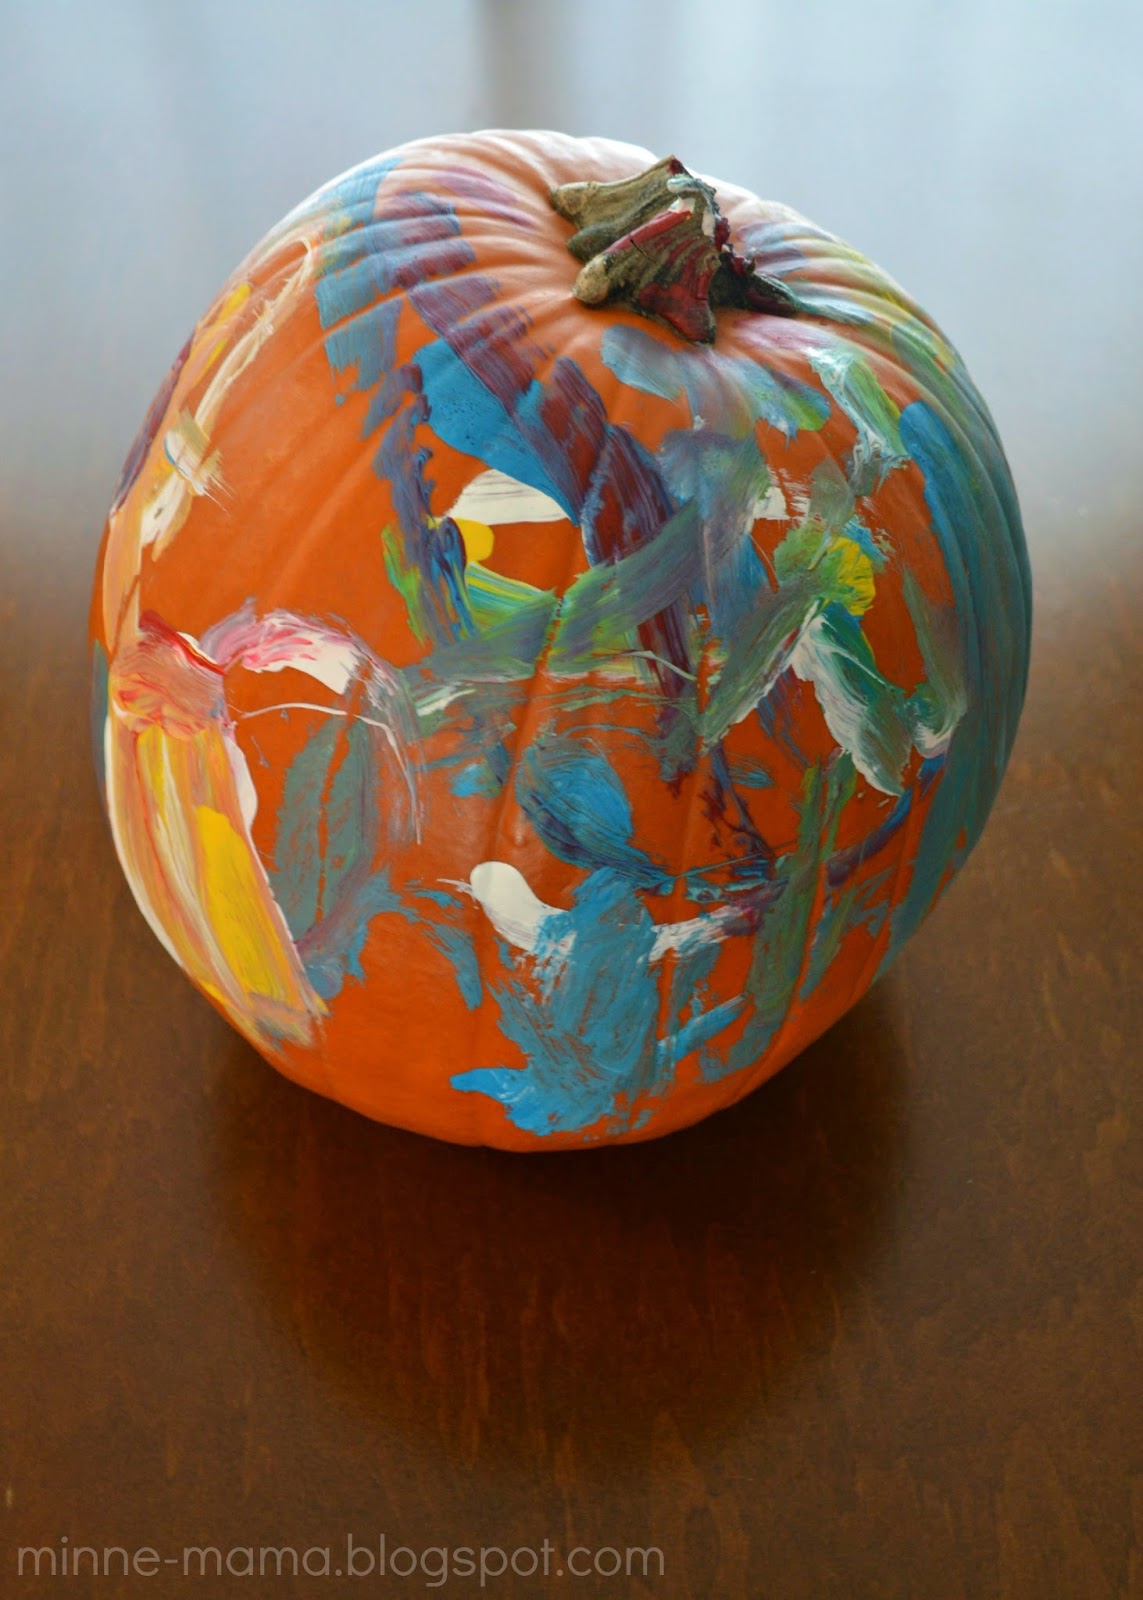
Up next we did a simple painted pumpkin which was Skyler's favorite to do! Last year for his pumpkin we did finger paints (with a tape resist S) that he covered with stickers once dry. Whether it was the age difference, or using the brush instead of his fingers, he had so much more fun decorating with these methods this year! He sat and carefully painted his pumpkin until every side was filled, politely asking for more paint whenever he ran out.


Similar to last year, we did a simple sticker pumpkin for the third and final decoration. These were actually the leftover stickers from last year. Again, this was a completely independent pumpkin for Skyler to decorate since he can easily remove the foam stickers from the backing. He did this pumpkin very quickly.


Skyler's foam sticker decorated pumpkin turned out so fun and glittery. I was kind of surprised all of his stickers stayed on one side!


The cut out pumpkin turned out pretty cute, but I am excited to see it lit up when it gets dark out! We haven't had a chance to try it out the past two nights, but Skyler will be so excited to see the glowing vehicles tomorrow night!


Skyler's beautifully painted pumpkin is my favorite one. He worked so hard on it and I think it turned out so cute! We have an owl shaped pumpkin holder that I am excited to put out on our front step to hold this pumpkin.


These three simple decorating techniques were great for a very independent toddler! Each one was a lot of fun on its own, and you definitely do not need three pumpkins to do all of these. Last year we had fun painting and (once dry) placing stickers on one pumpkin. Painting and cookie cutouts would be another easy one to combine on one pumpkin.